

INTRODUCTION
Today me and my son Petraredhammer played one doozy of a game in the Leipzig sector as part of the American offensive. It was a very tight game that really could have gone either way. You have to admit that luck carries a lot of weight in the Flames of War family of games and that the dice can truly be fickle. I think both of us had insane luck: both good and very bad!
In our earlier games we sparred in the Hof Corridor and the honors so far have been pretty even. Petraredhammer´s opening win sent him into the Hof Gap with his tank regiment where we fought two bitter actions. At Hill 214 we beat each other into submission and had very little remaining of our forces left. In the third game Petra´s tankovys ran into a solid wall of mech infantry, but trashed my tank platoon and JUST missed the objective.
Now my forces have regrouped and have launched a desperate counter offensive into the Leipzig theater in a bid to turn the tide of war against the red hoards swarming out of eastern Germany.
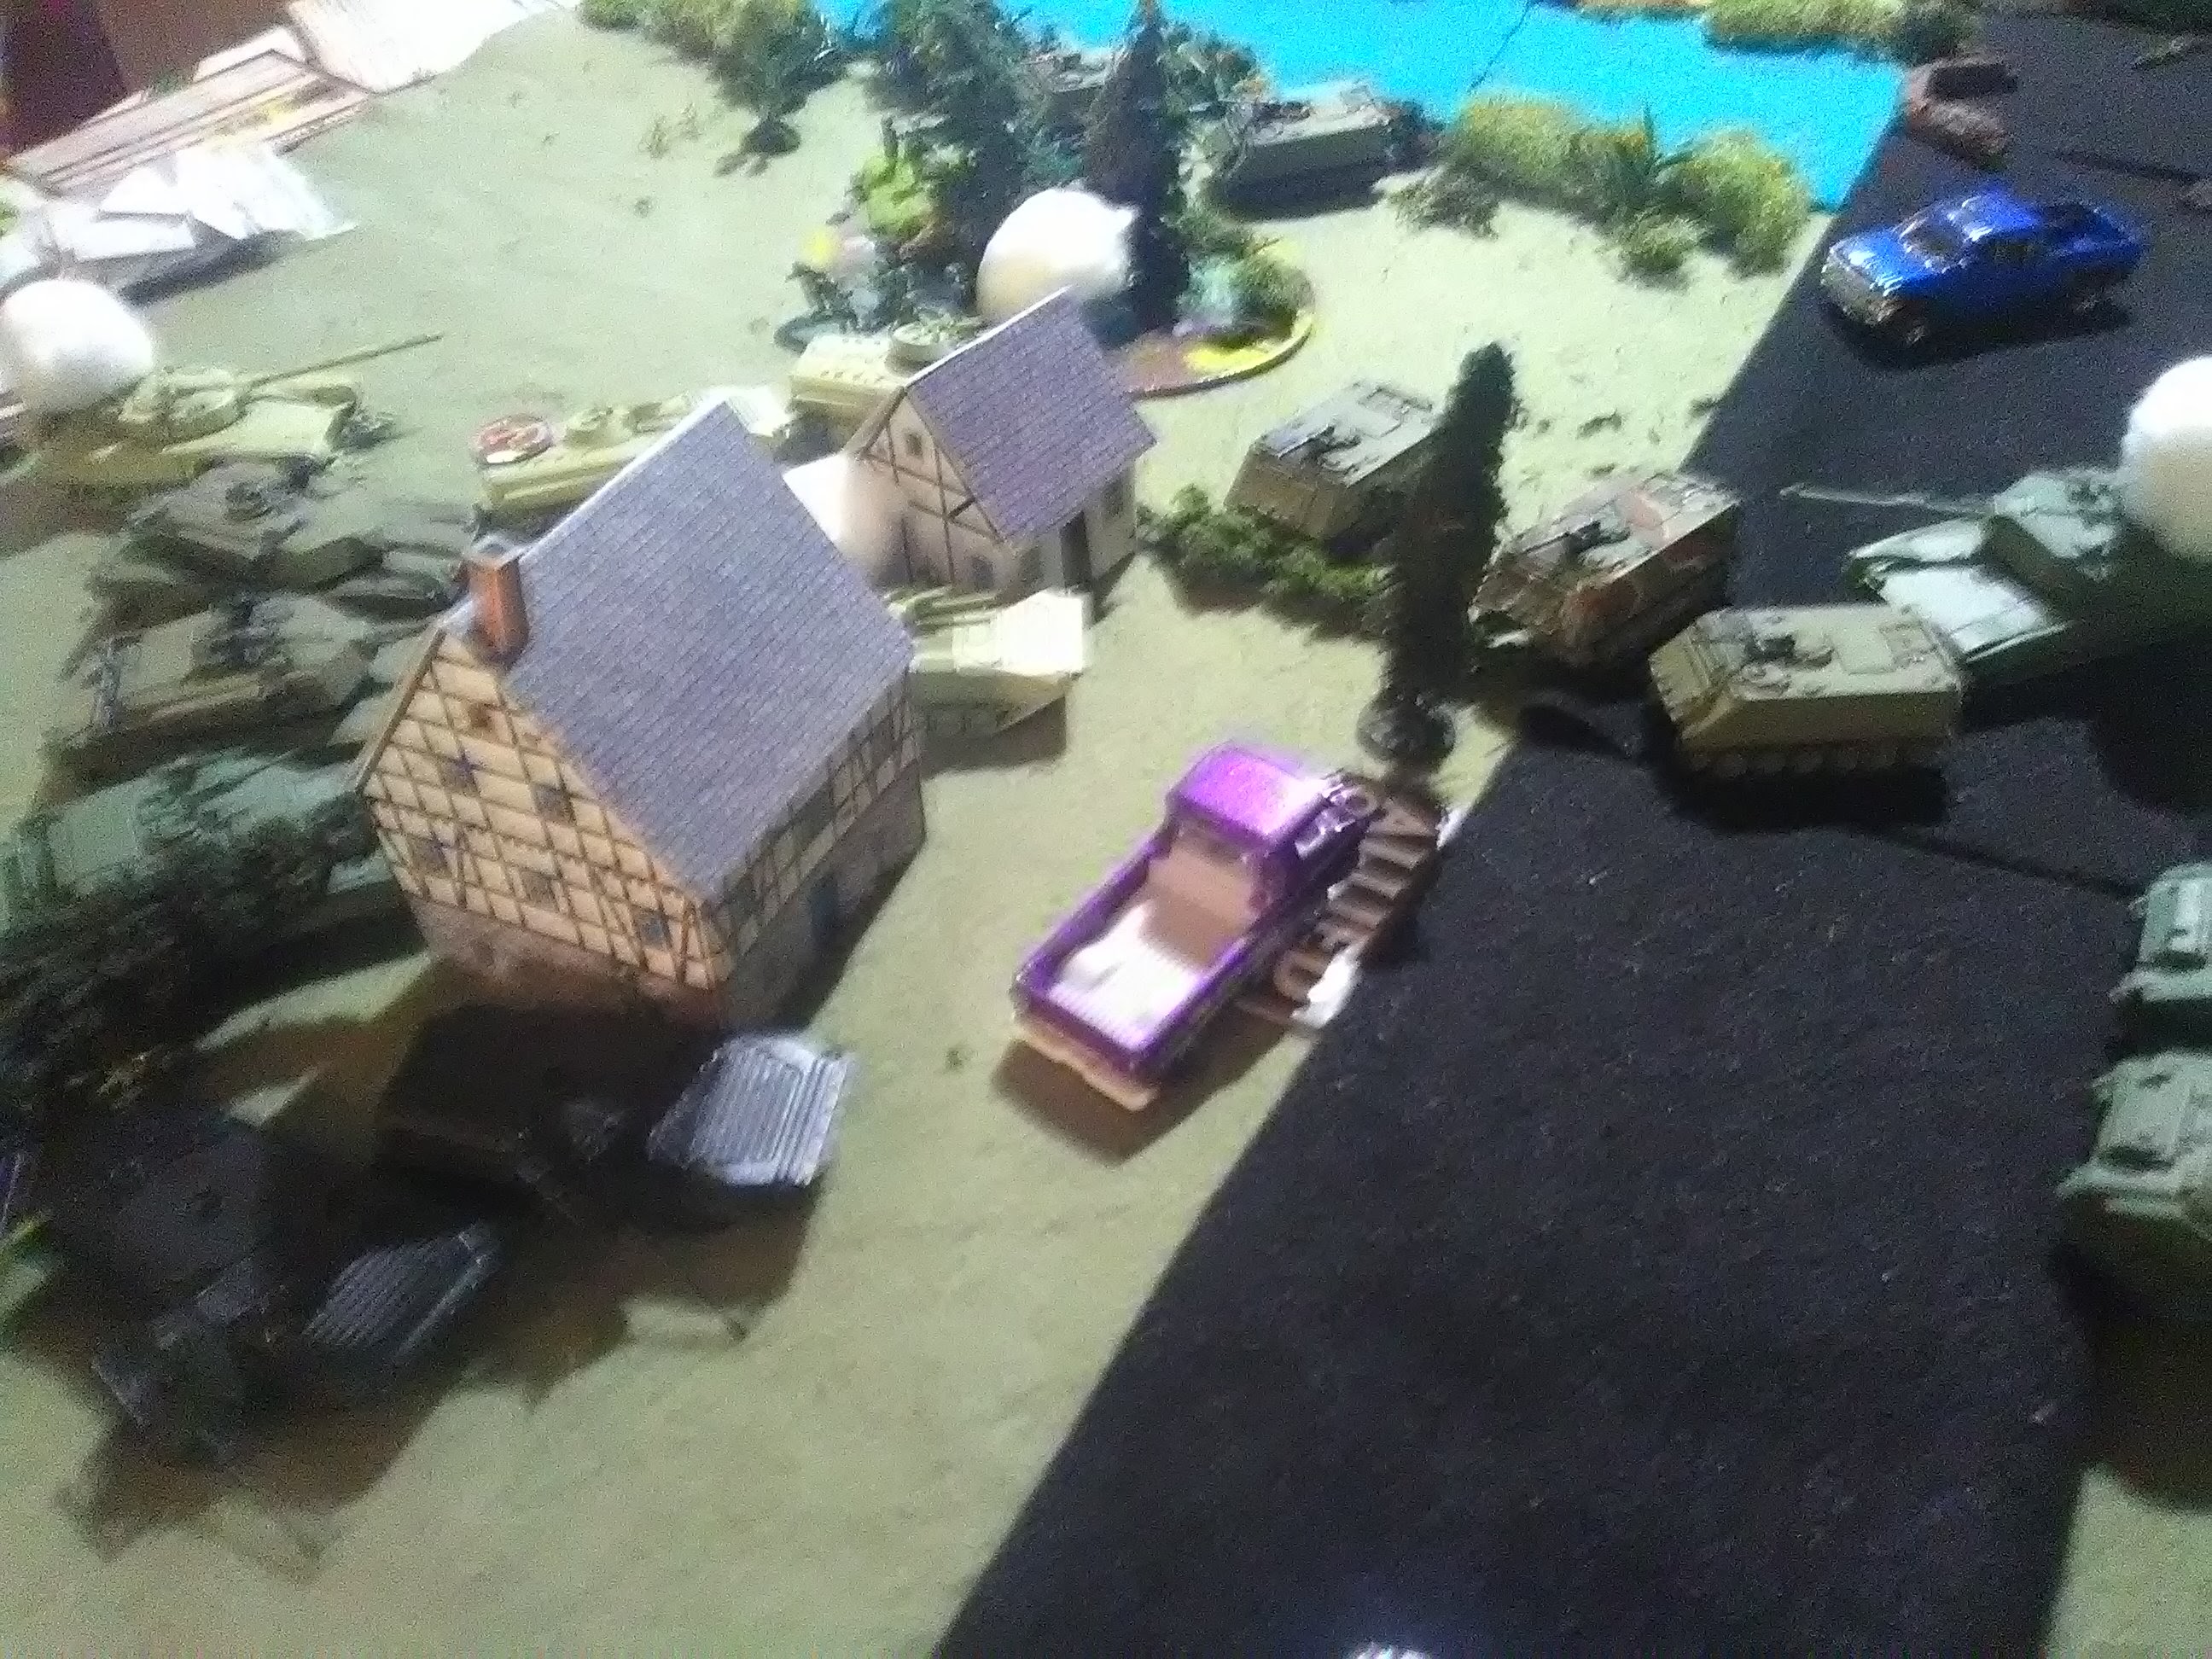
Both of us took advantage of our scouts to spread out of our deployment zones. I used mine to rush the bridge and to get set-up for a charge against the objective. Jeremy pushed his grunts and scouts forward and was able to cover the first objective and make a play for the second while he kept his BMP-2s in ambush.
My opening force consisted of my tank platoon, one of my two scout sections, and the large mech infantry platoon. I dismounted the Dragons who would spend the rest of the game being out of command and kept the rest of the riflemen with the PCs. My Dragons would support my armored rush and would have to serve as speed bumps when Jeremy´s reserves showed up.
I knew that I just had three turns to make things work, so it was a bold all or nothing gambit for me. Jeremy was counting on my rush and had an ambush waiting on them. He figured that his remaining two tank companies could carry the day against whatever force I could scrape up to defend my sector. It was going to be bloody race for the objectives with the edge going to the player who kept his cool and rolled good dice!
A quick toss of the dice told us that this would be a day time action. I knew then that it would be a long game for me.

Turn One was a mad dash with my tanks leading towards the first objective. My tank platoon took full advantage of the good field position and the M1´s excellent mobility to set up an excellent round of shooting. Jeremy´s scouts were gone to ground, but it didn't save them a barrage of lucky dice. By the end of the shooting phase two BMPs and the battalion command tank were in flames. Jeremy was down, but not out!
I knew that he had an ambush up his sleeve, but that was the risk I had to take and I took it on the chin. Four Soviet BMPs seemed to appear out of nowhere on my flank and dumped a swarm of ATGMs. Just like that I lost one tank to a brew-up and another to a bail. Jeremy was definitely turning up the pressure on me.
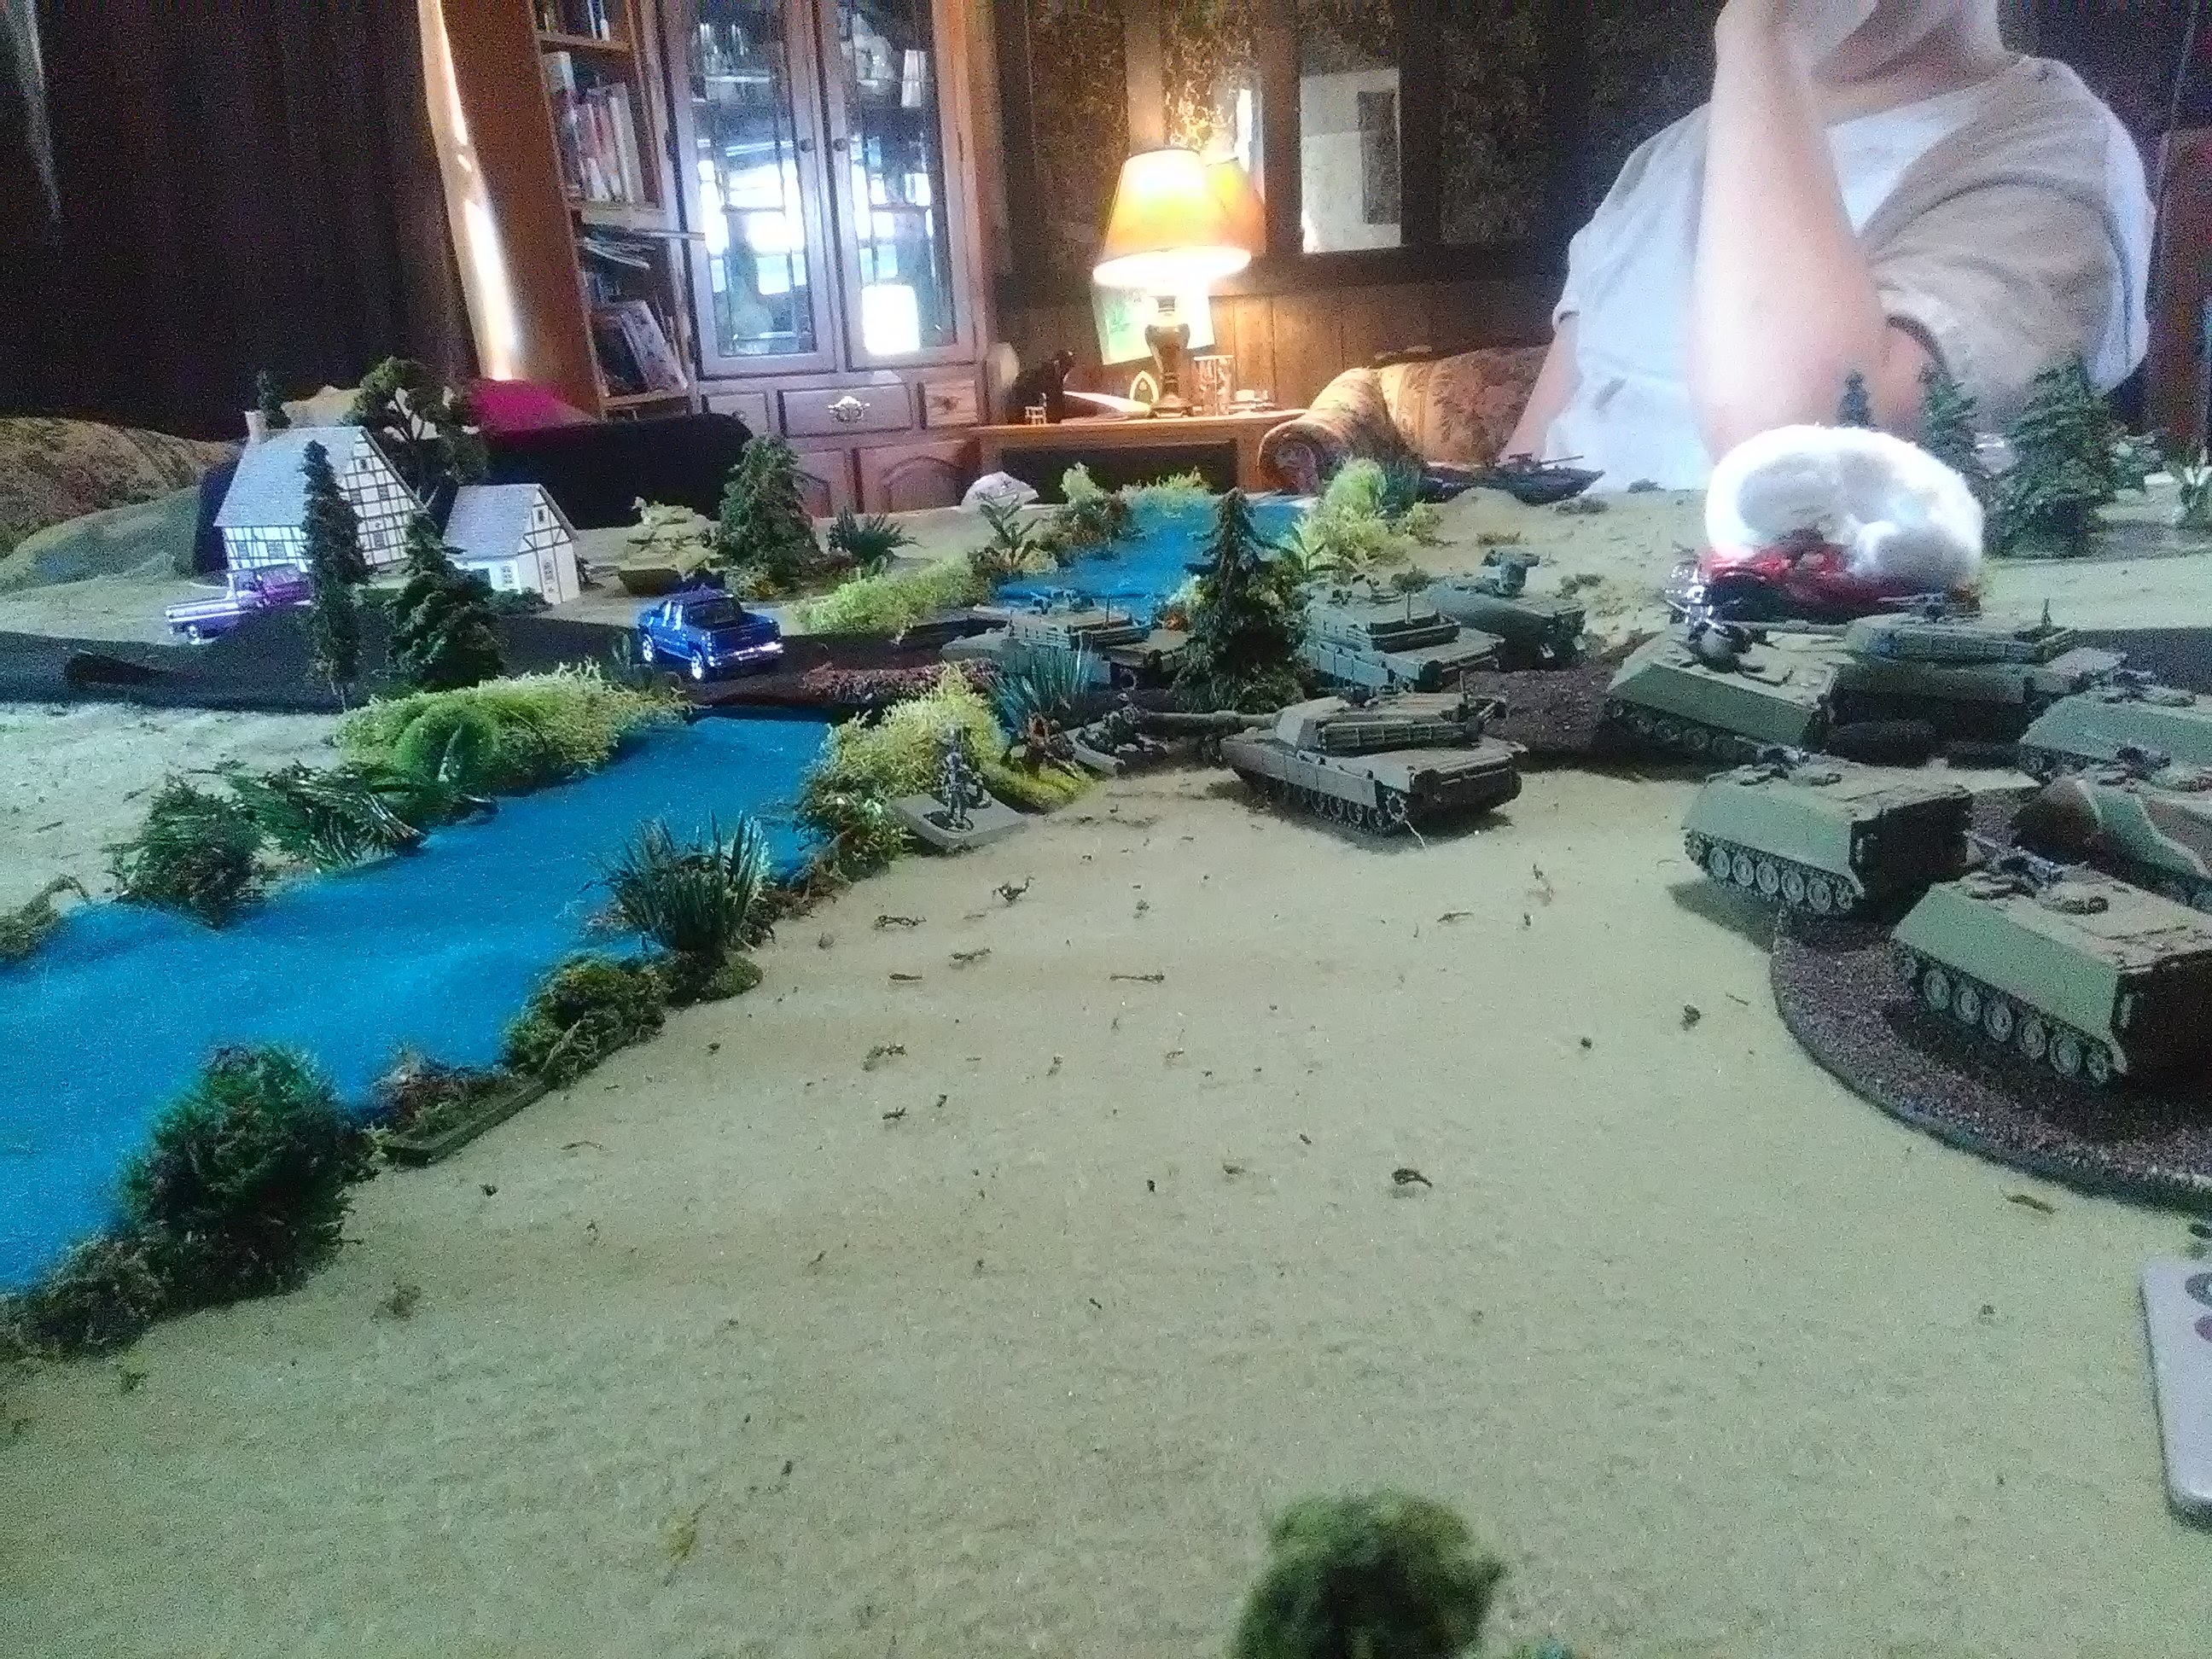
Turns 2-3 exploded into a close quarters firefight. I was able to mount my bailed tank and I rushed my MBTs after the BMPs. It was a gamble for sure, but I knew i had to get inside his minimum range to shut down the missiles. My mech infantry swarmed in behind my tanks and rushed the line of Russian infantry that were deployed in the woods and along the small shopping center next to the road. The fighting was fast and furious with GIs and Soviets falling left and right. Meanwhile my tanks poured fire into the BMPs and wiped them out. Only one lucky scout escaped the firestorm. This fellow´s survival would play a pivotal role in the coming turns.
By the end of turn 3 I was feeling the heat. Only one reserve, the fly swatters, had shown up and Jeremy was rushing his infantry forward in a brutal counter attack. Cries of ¨URRAH!!!!¨ filled the air as his infantry crushed my lead mech infantry team and the rest pushed up to the objectives to contest them.
Two could play that game!
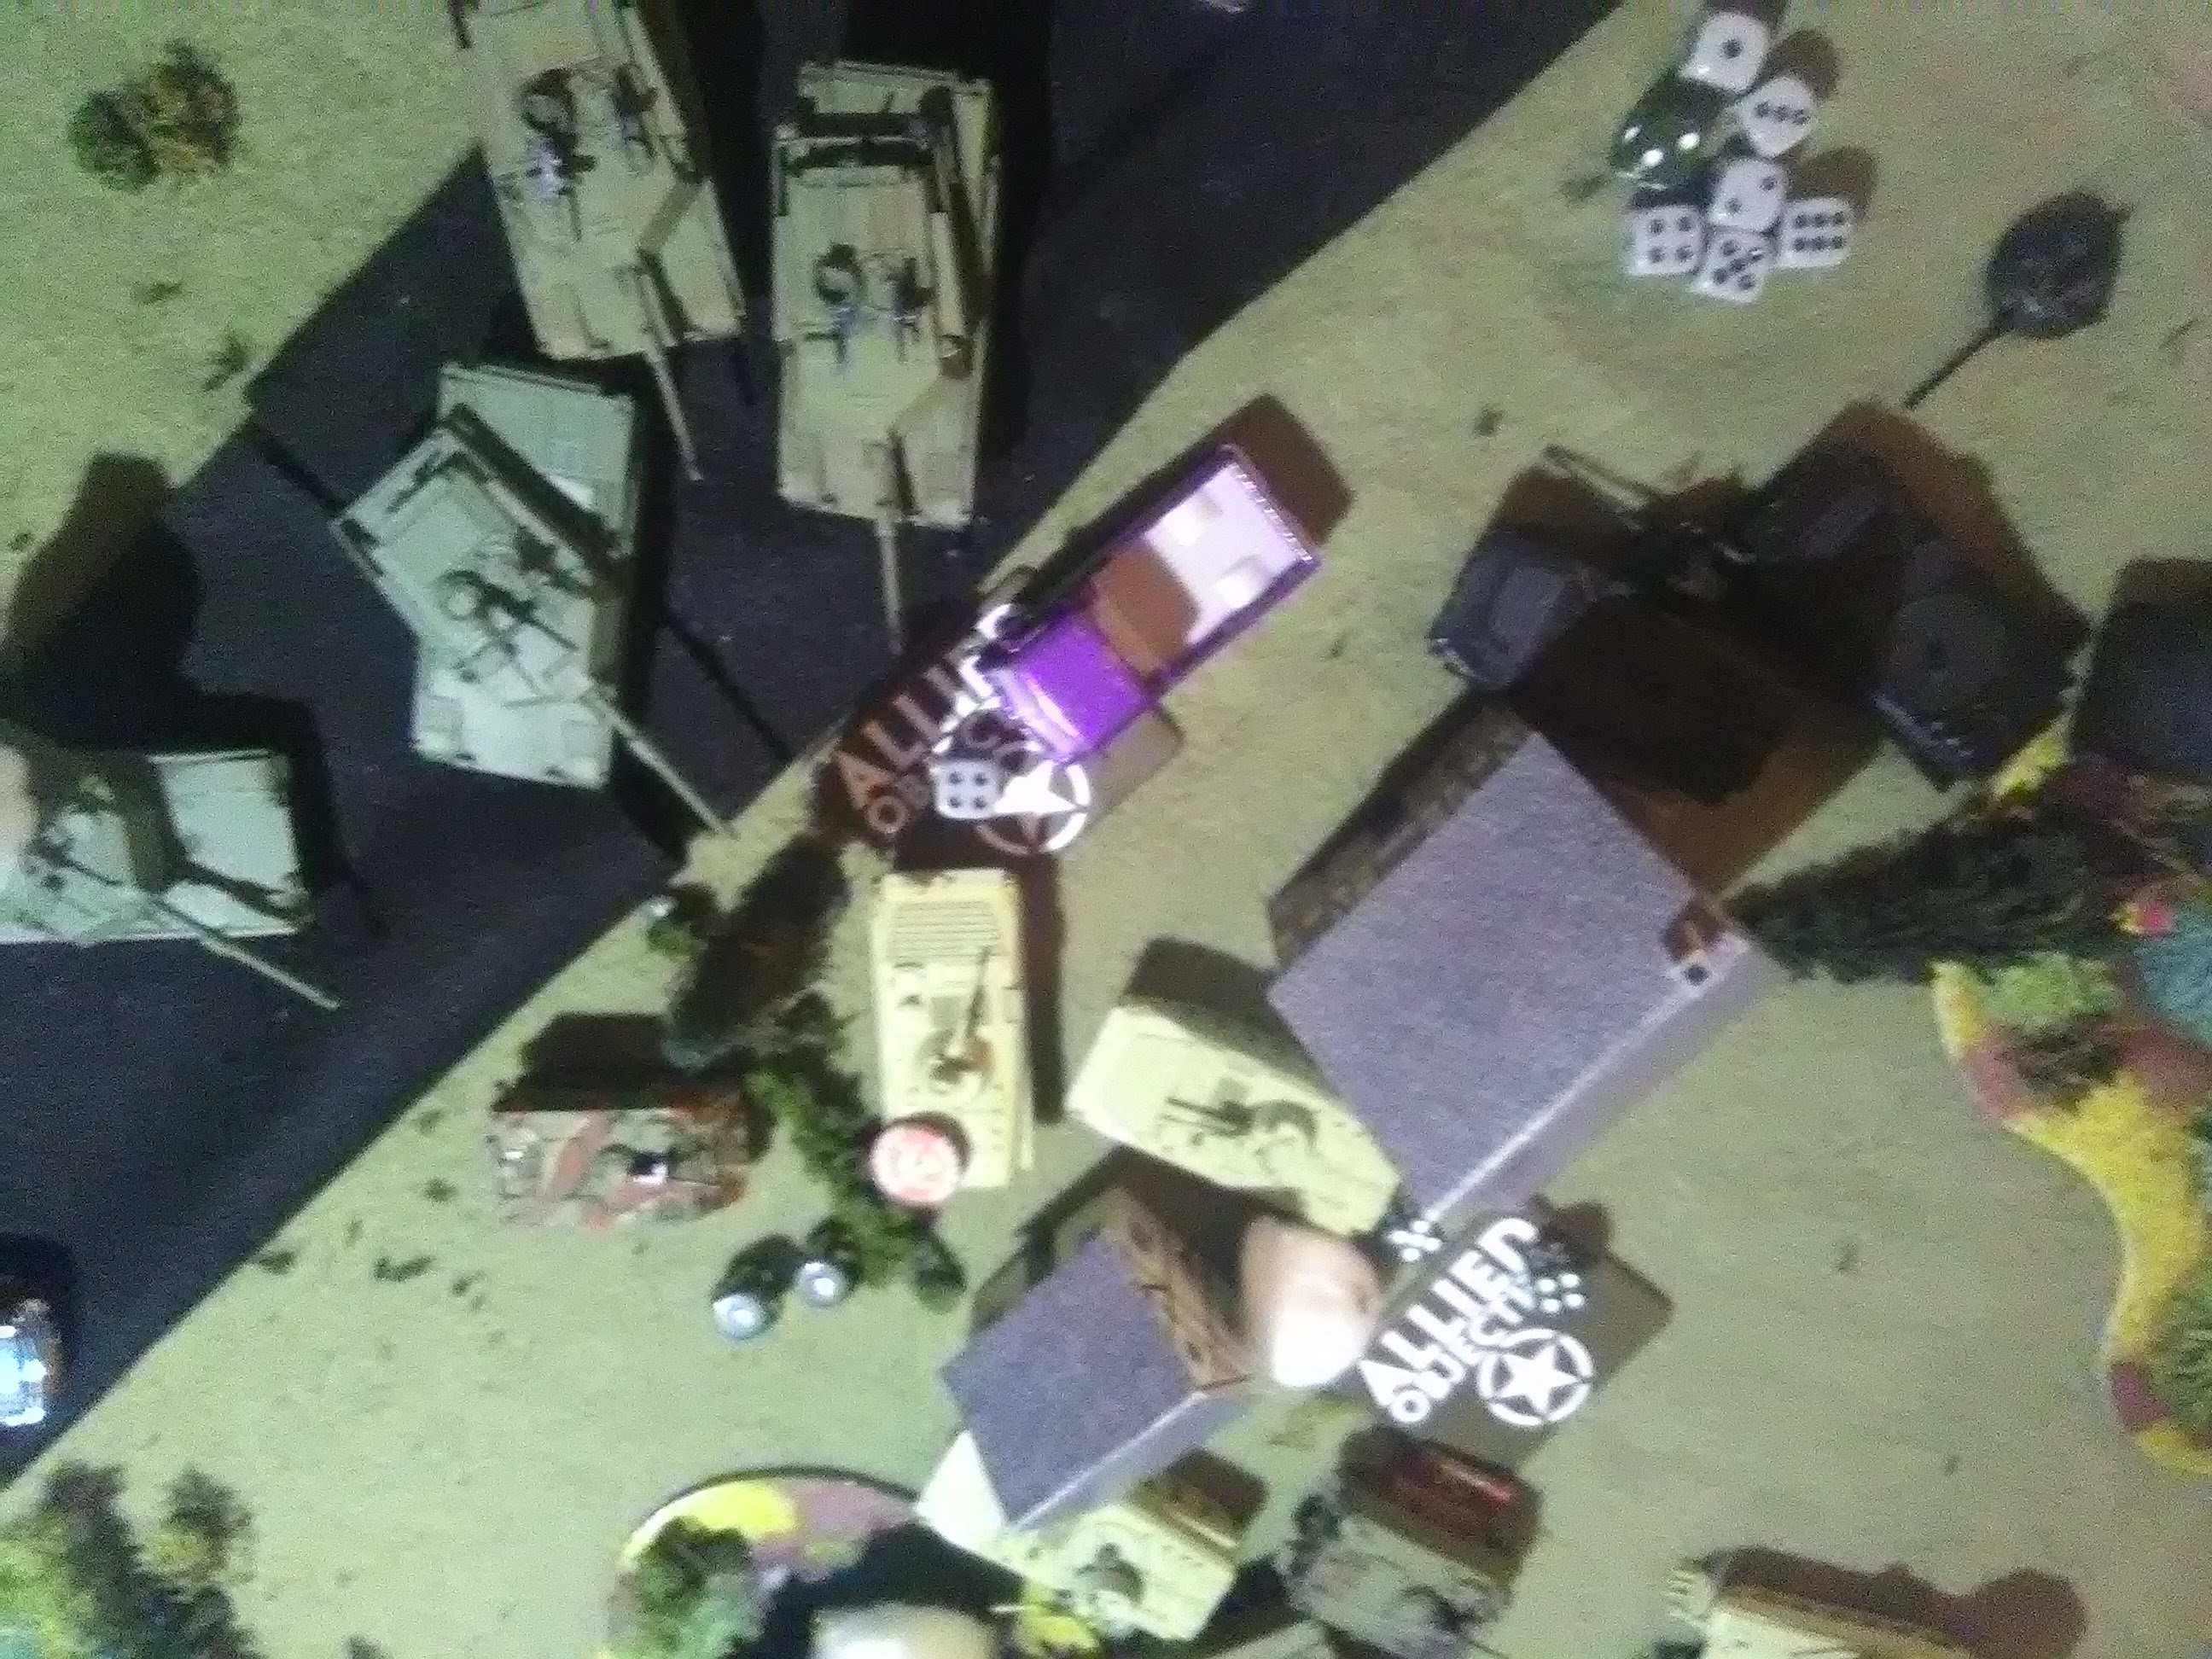
On turn 4 I ordered my grunts to fix bayonets! My tanks and ADA guns poured a fusilade of tracers into the Soviet infantry forcing them to ground. My infantry rose to their feel and rushed forward to meet their Soviet counterparts in close quarters combat. Bayonets flashed, grenades cracked, and automatic weapons thundered as brutal life and death encounters erupted around the objectives. When the dust and smoke cleared the Soviet infantry were gone. Nothing was left but broken bodies and a handful of prisoners. My battered GIs were victorious!! But...
One BMP scout remained!
The tides of war changed on Jeremy´s turn as my worst nightmare came true. He rolled two dice and got a 5 and 6. As if they materialized out of nowhere, the rest of Jeremy´s battalion rushed onto the board with only a single scout squad and a few Dragon teams stood in their way. My stomach sank because it appeared that my opening gambit failed.
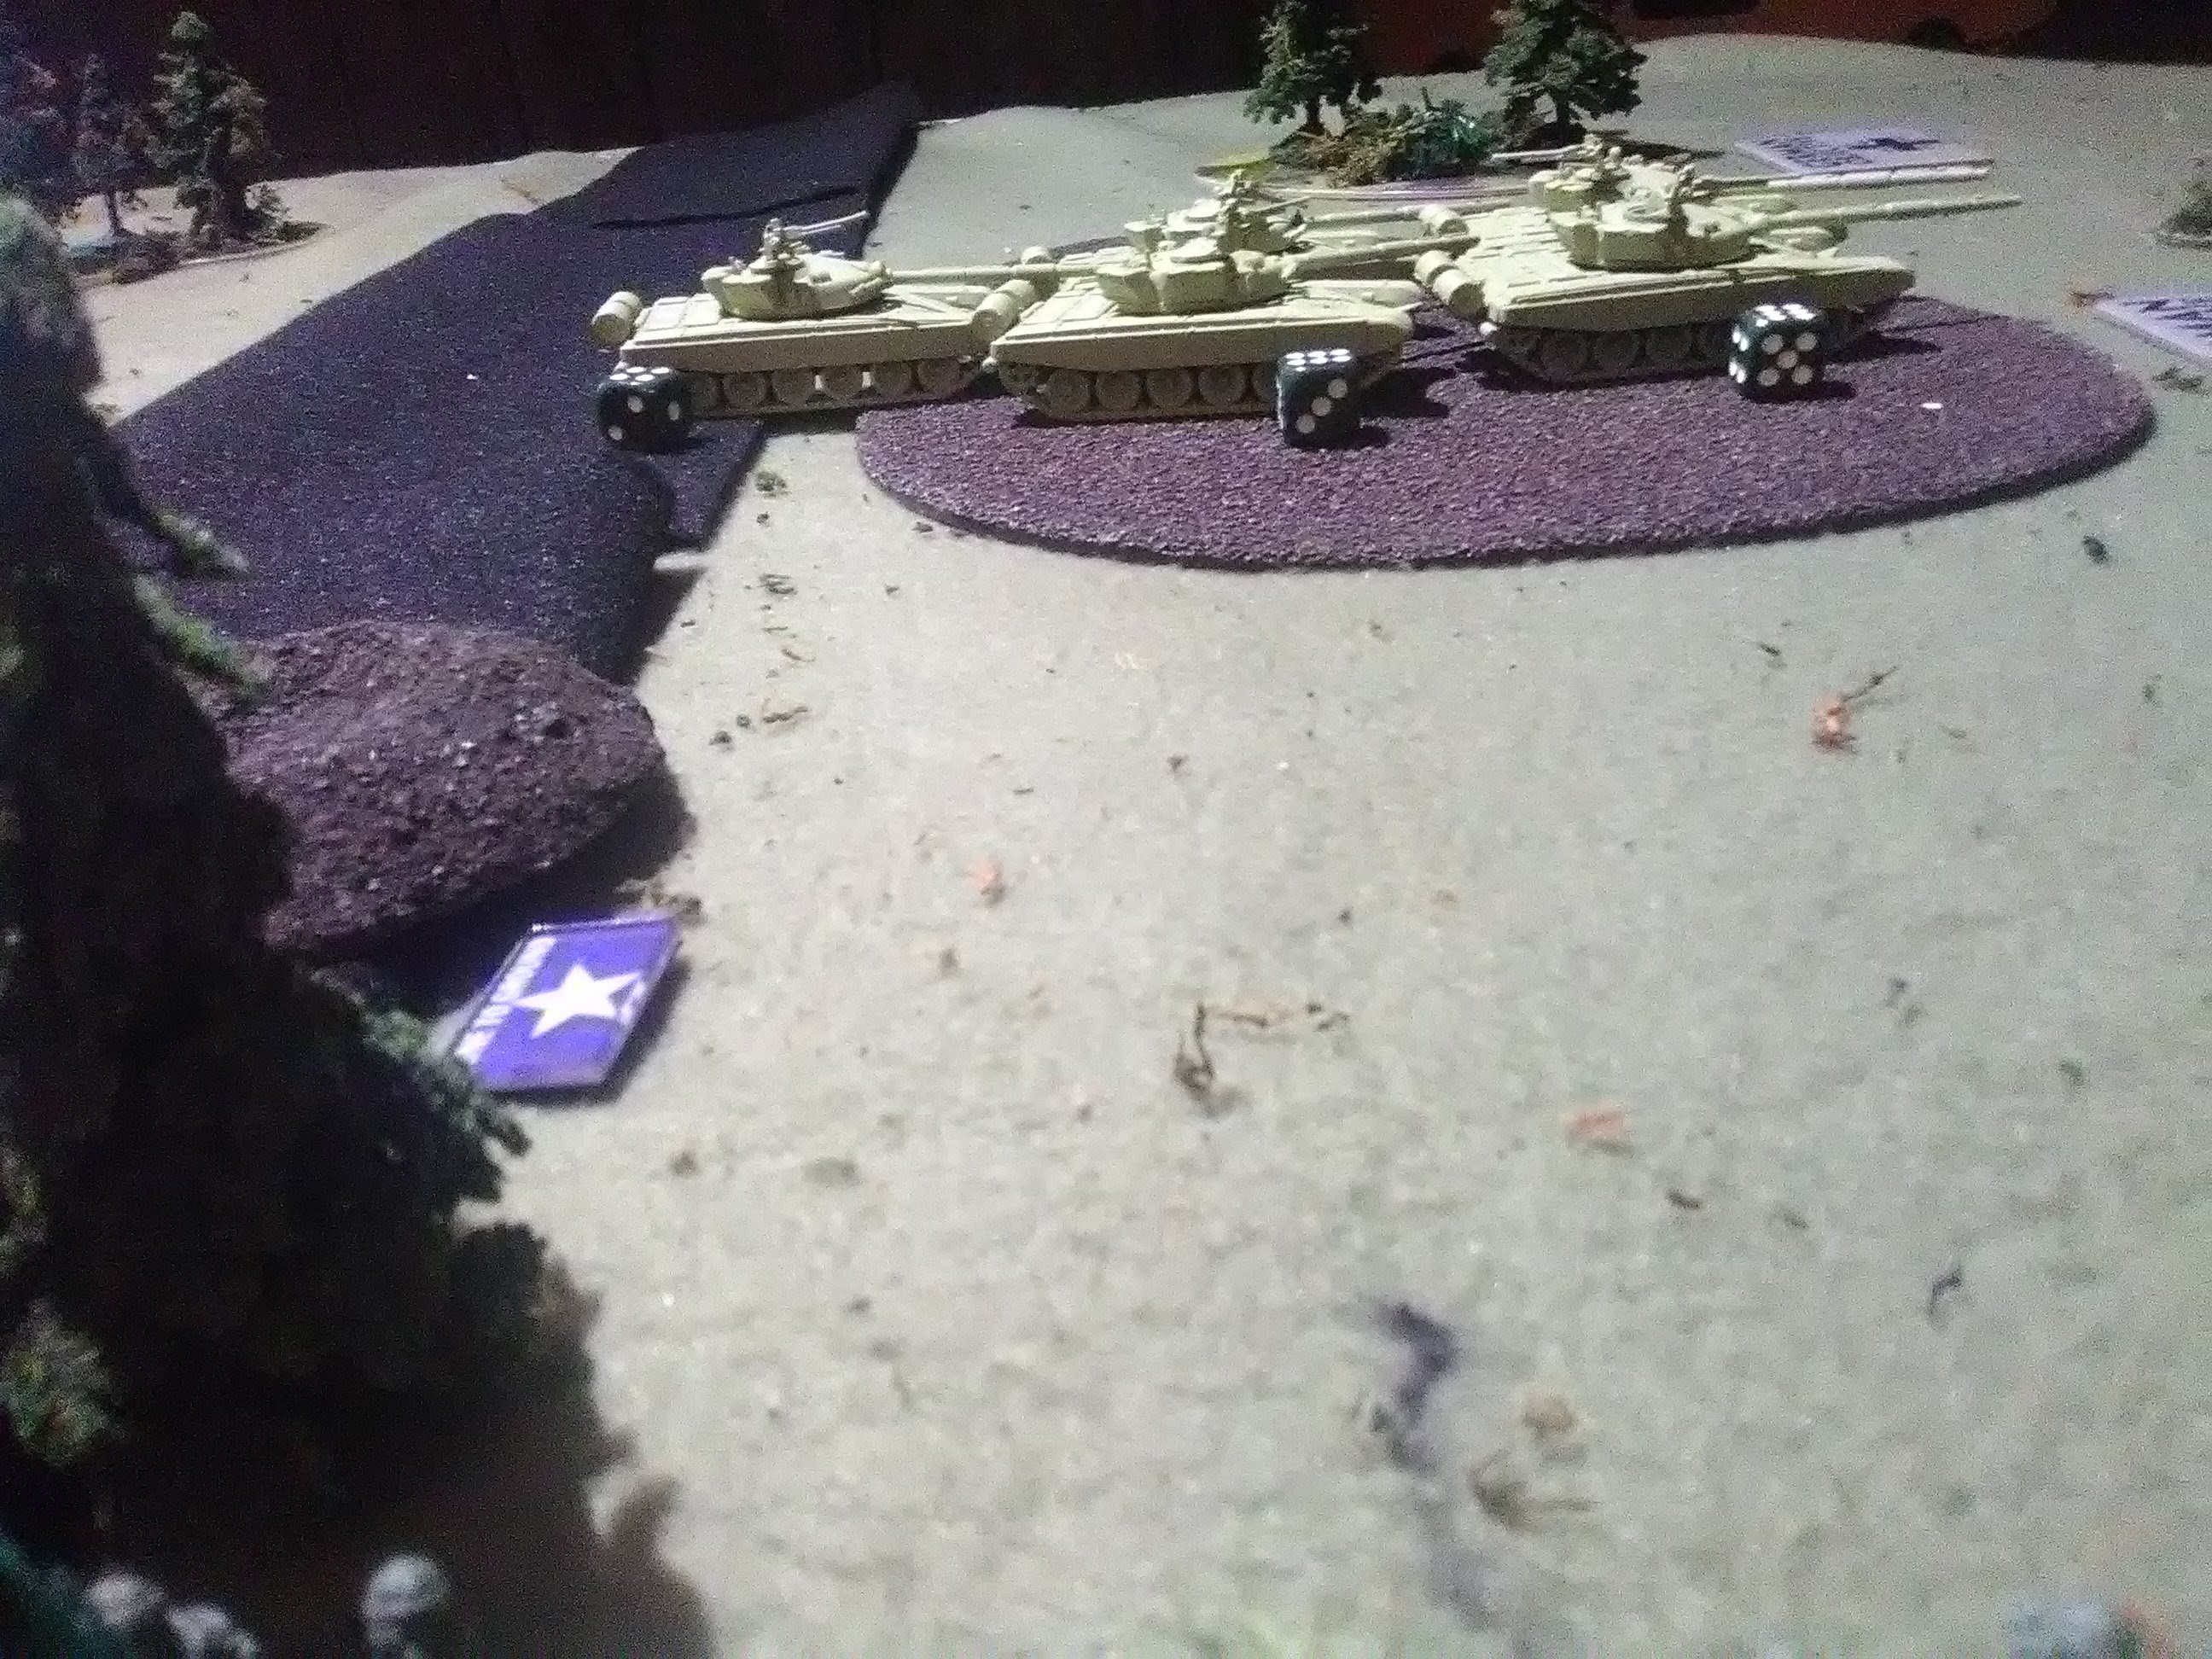

Jeremy´s tanks thunder forward against nearly no opposition. One company slowed down to toss cannon shots at my mech platoon while the other rushed for the objectives. My Dragon teams showed their worth though. Jeremy´s lead company left me some lovely flank shots and my gunners took full advantage of them. In a few short rolls I bailed one tank and blasted two others. But it just wasn't enough to stop them. I had to sacrifice my scouts to contest the objective and to keep me in the game! I knew that they wouldn't last long.
On the other side of the bridge I moved my three tanks to engage the sole surviving BMP and in an insane stroke of luck all of my shots missed or failed firepower checks. Jeremy passed his double bail roll and KEPT THE BMP!! On his next turn that same track remounted! Absolutely unbelievable!!! My other units tried to engage his tanks but they were too little, too late. Jeremy proceeded to blast my poor scouts when it came his turn. I just knew then that the game was over .
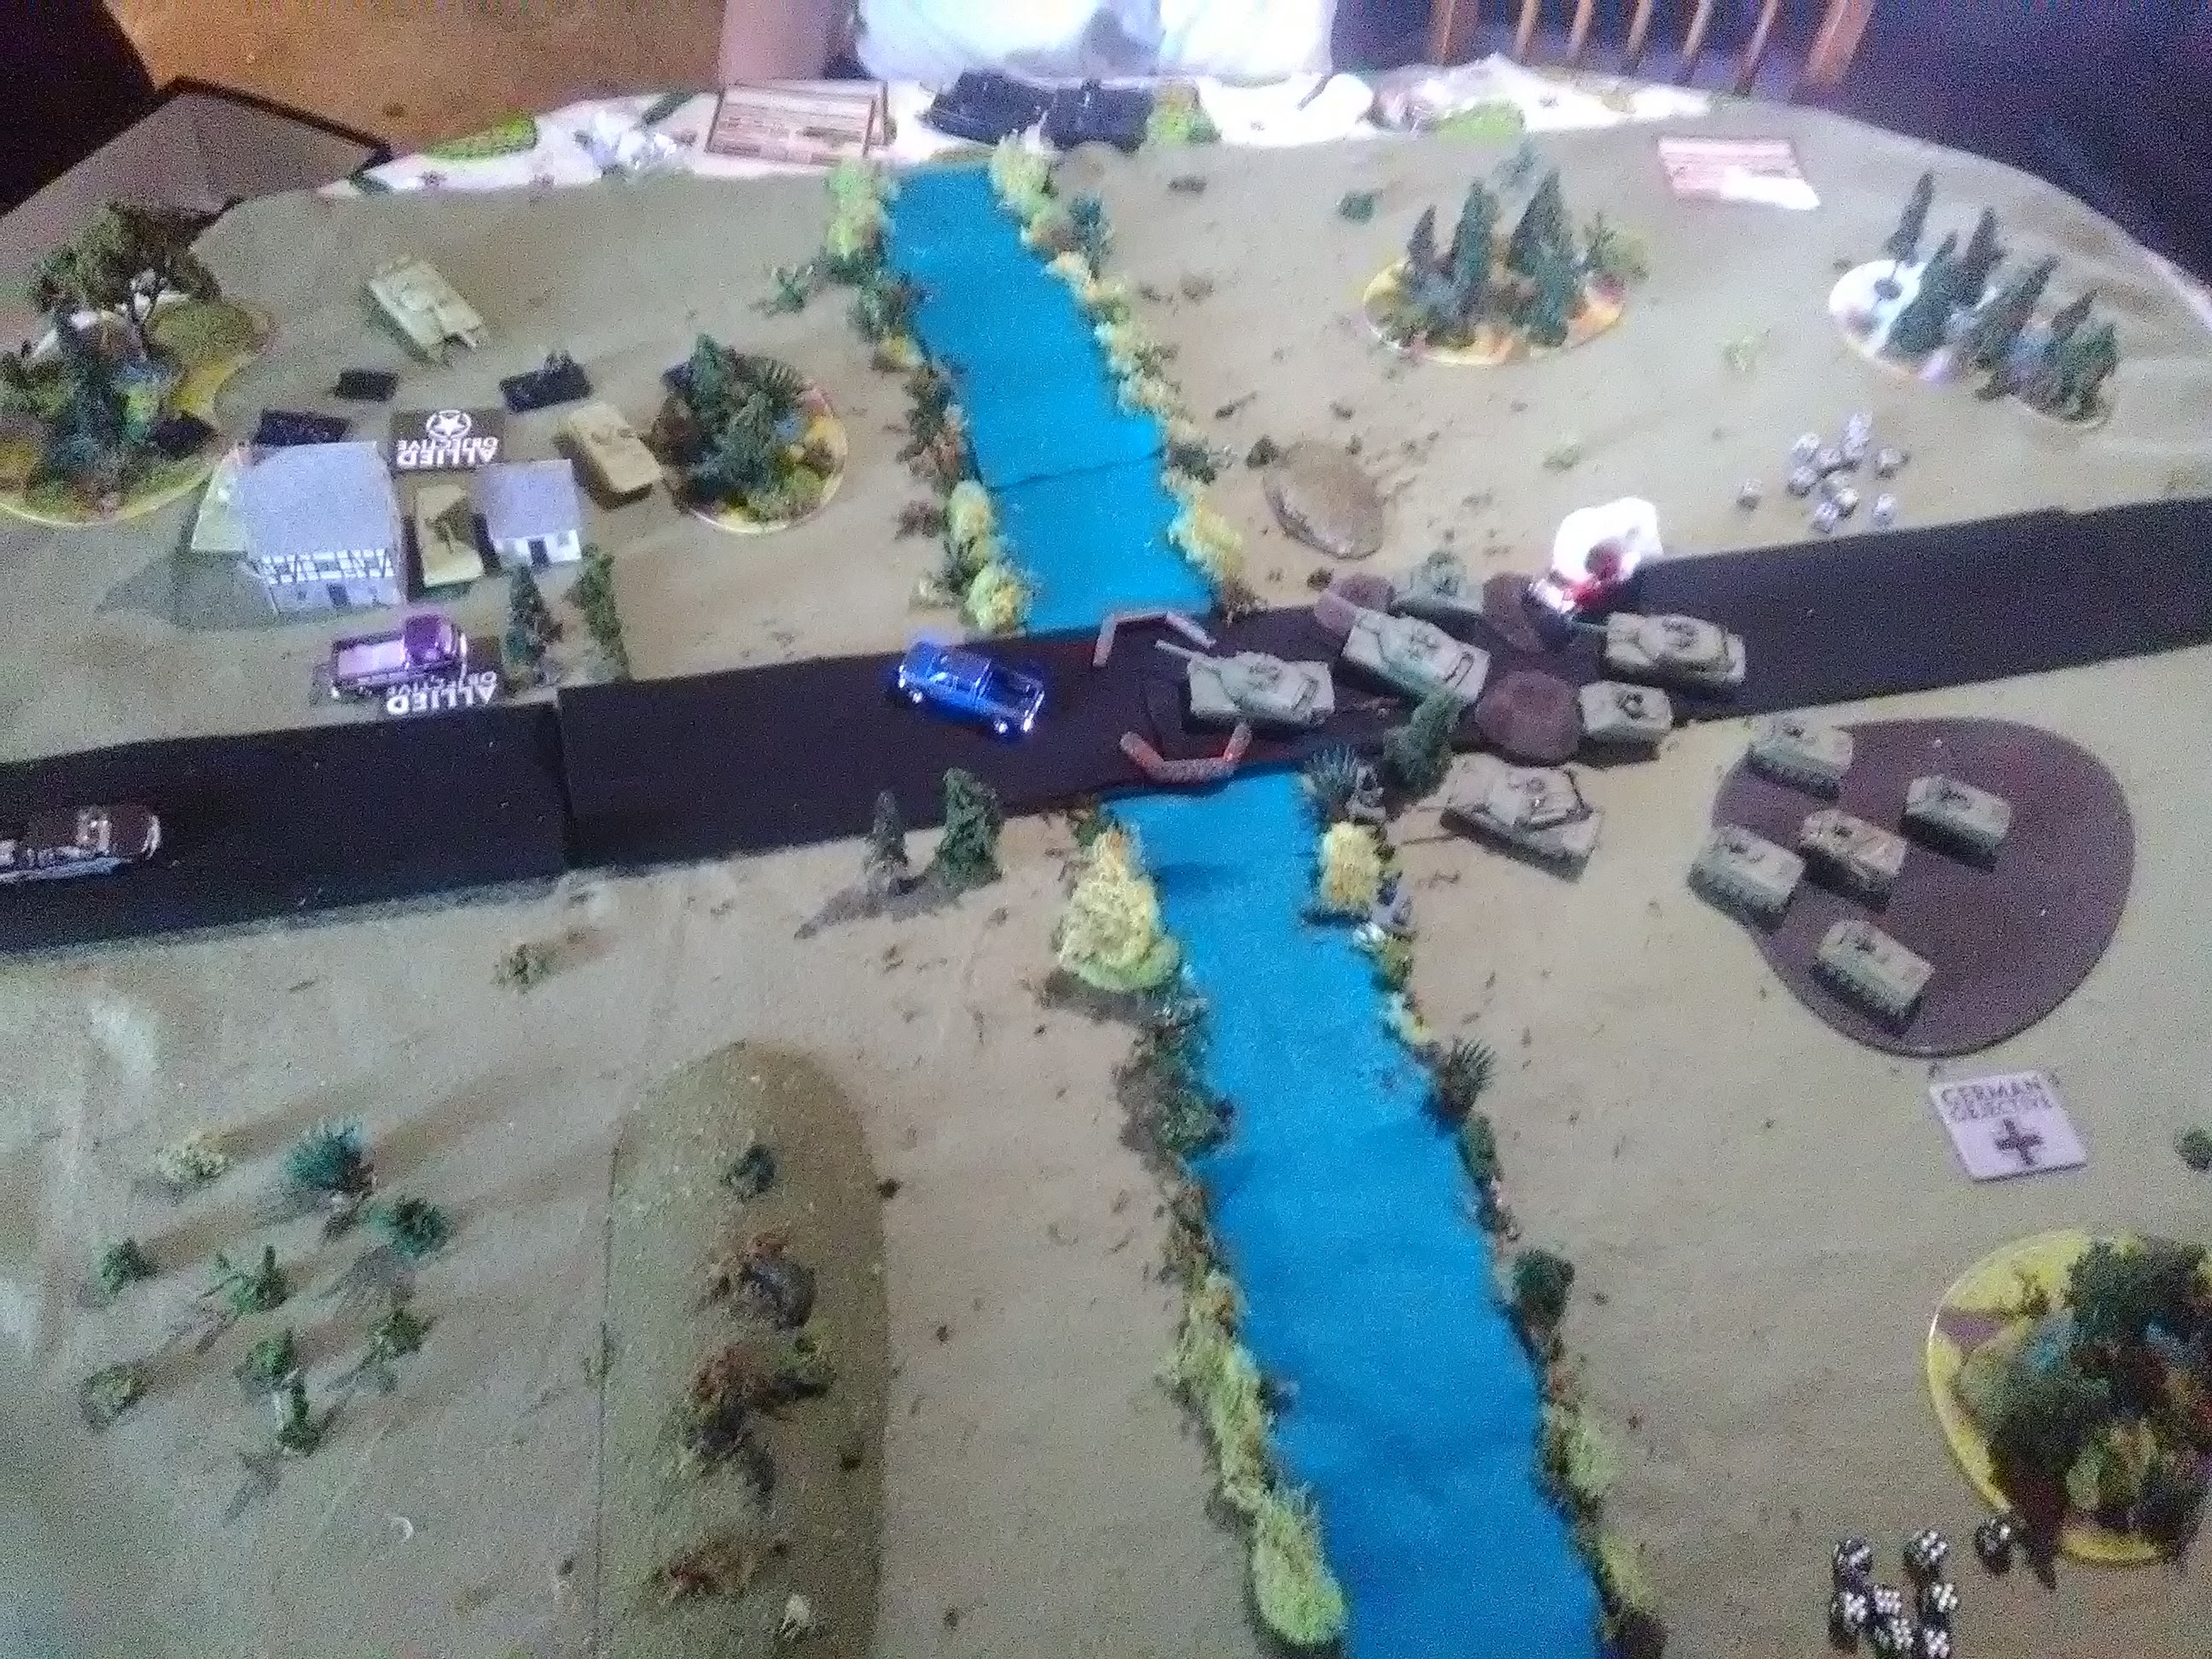
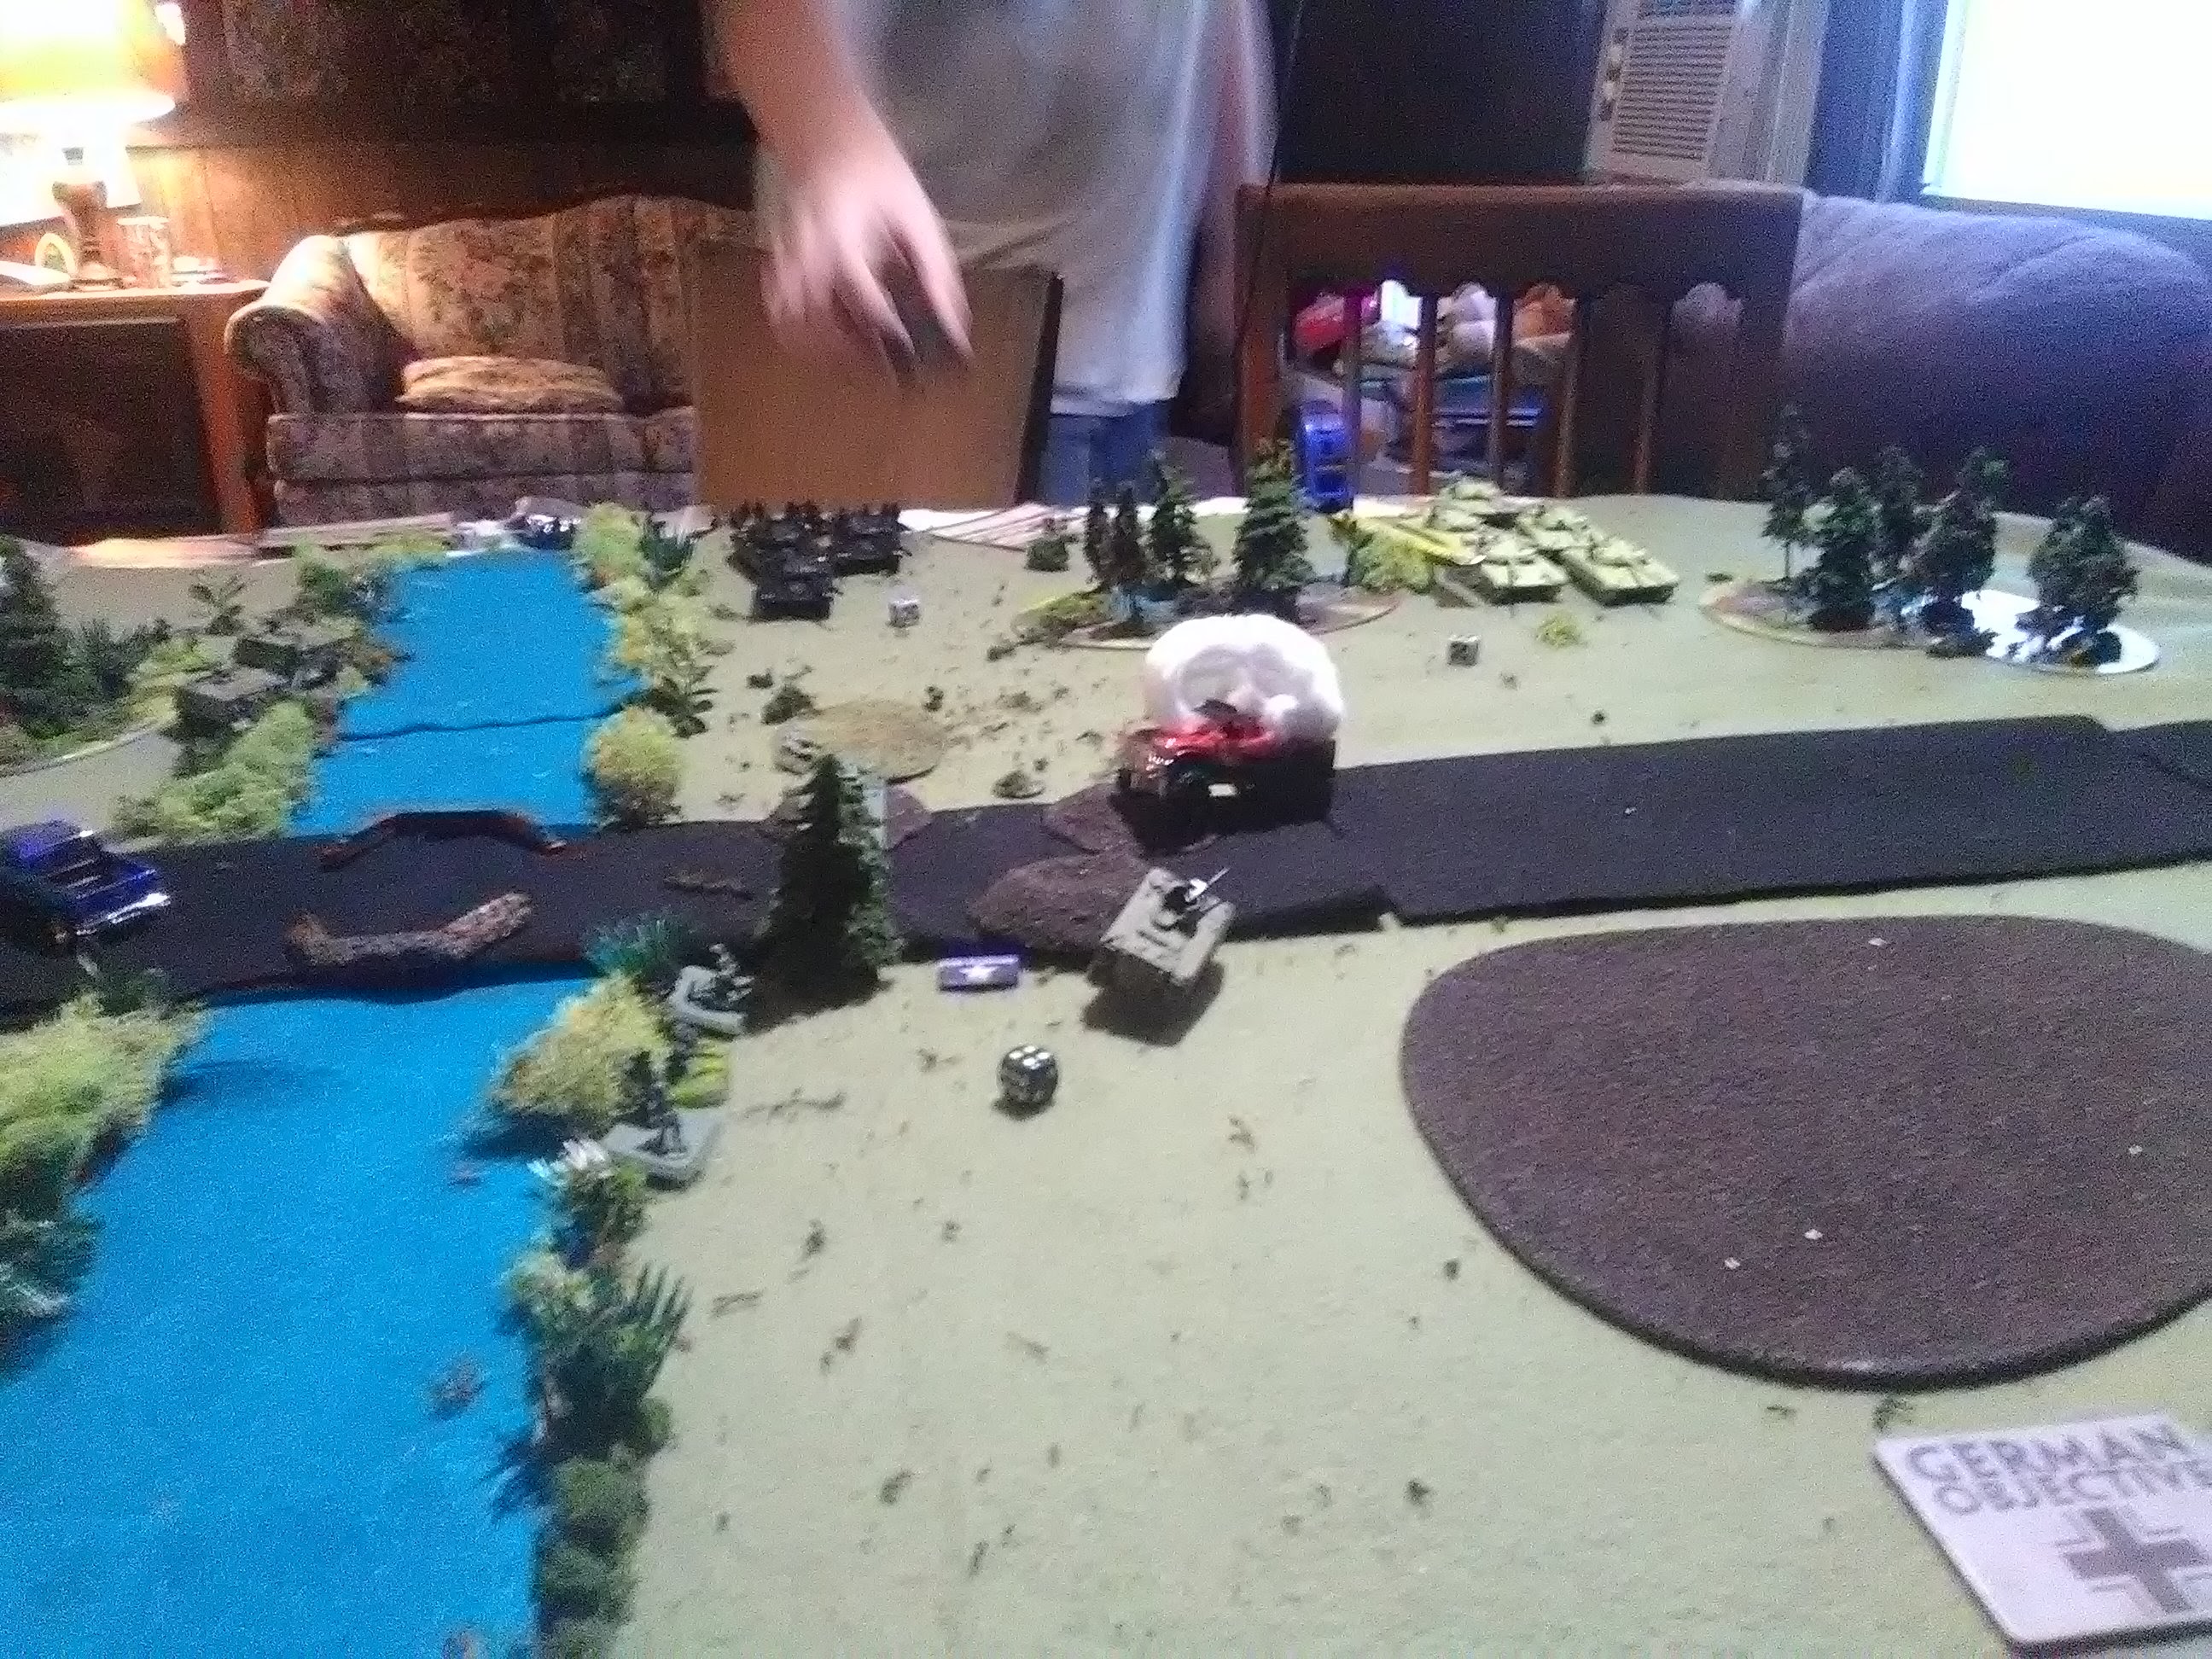
Turn 6 was it. At the top of the turn we looked at the objectives in Jeremy´s deployment zone and measured the distance between them and Jeremy´s insanely lucky BMP. It was stunning to both of us! He was JUST outside the 4¨ range to the objective farther away from the road! I had actually WON!!! Talk about a photo finish! If the objectives were just a bit closer then he would have won.
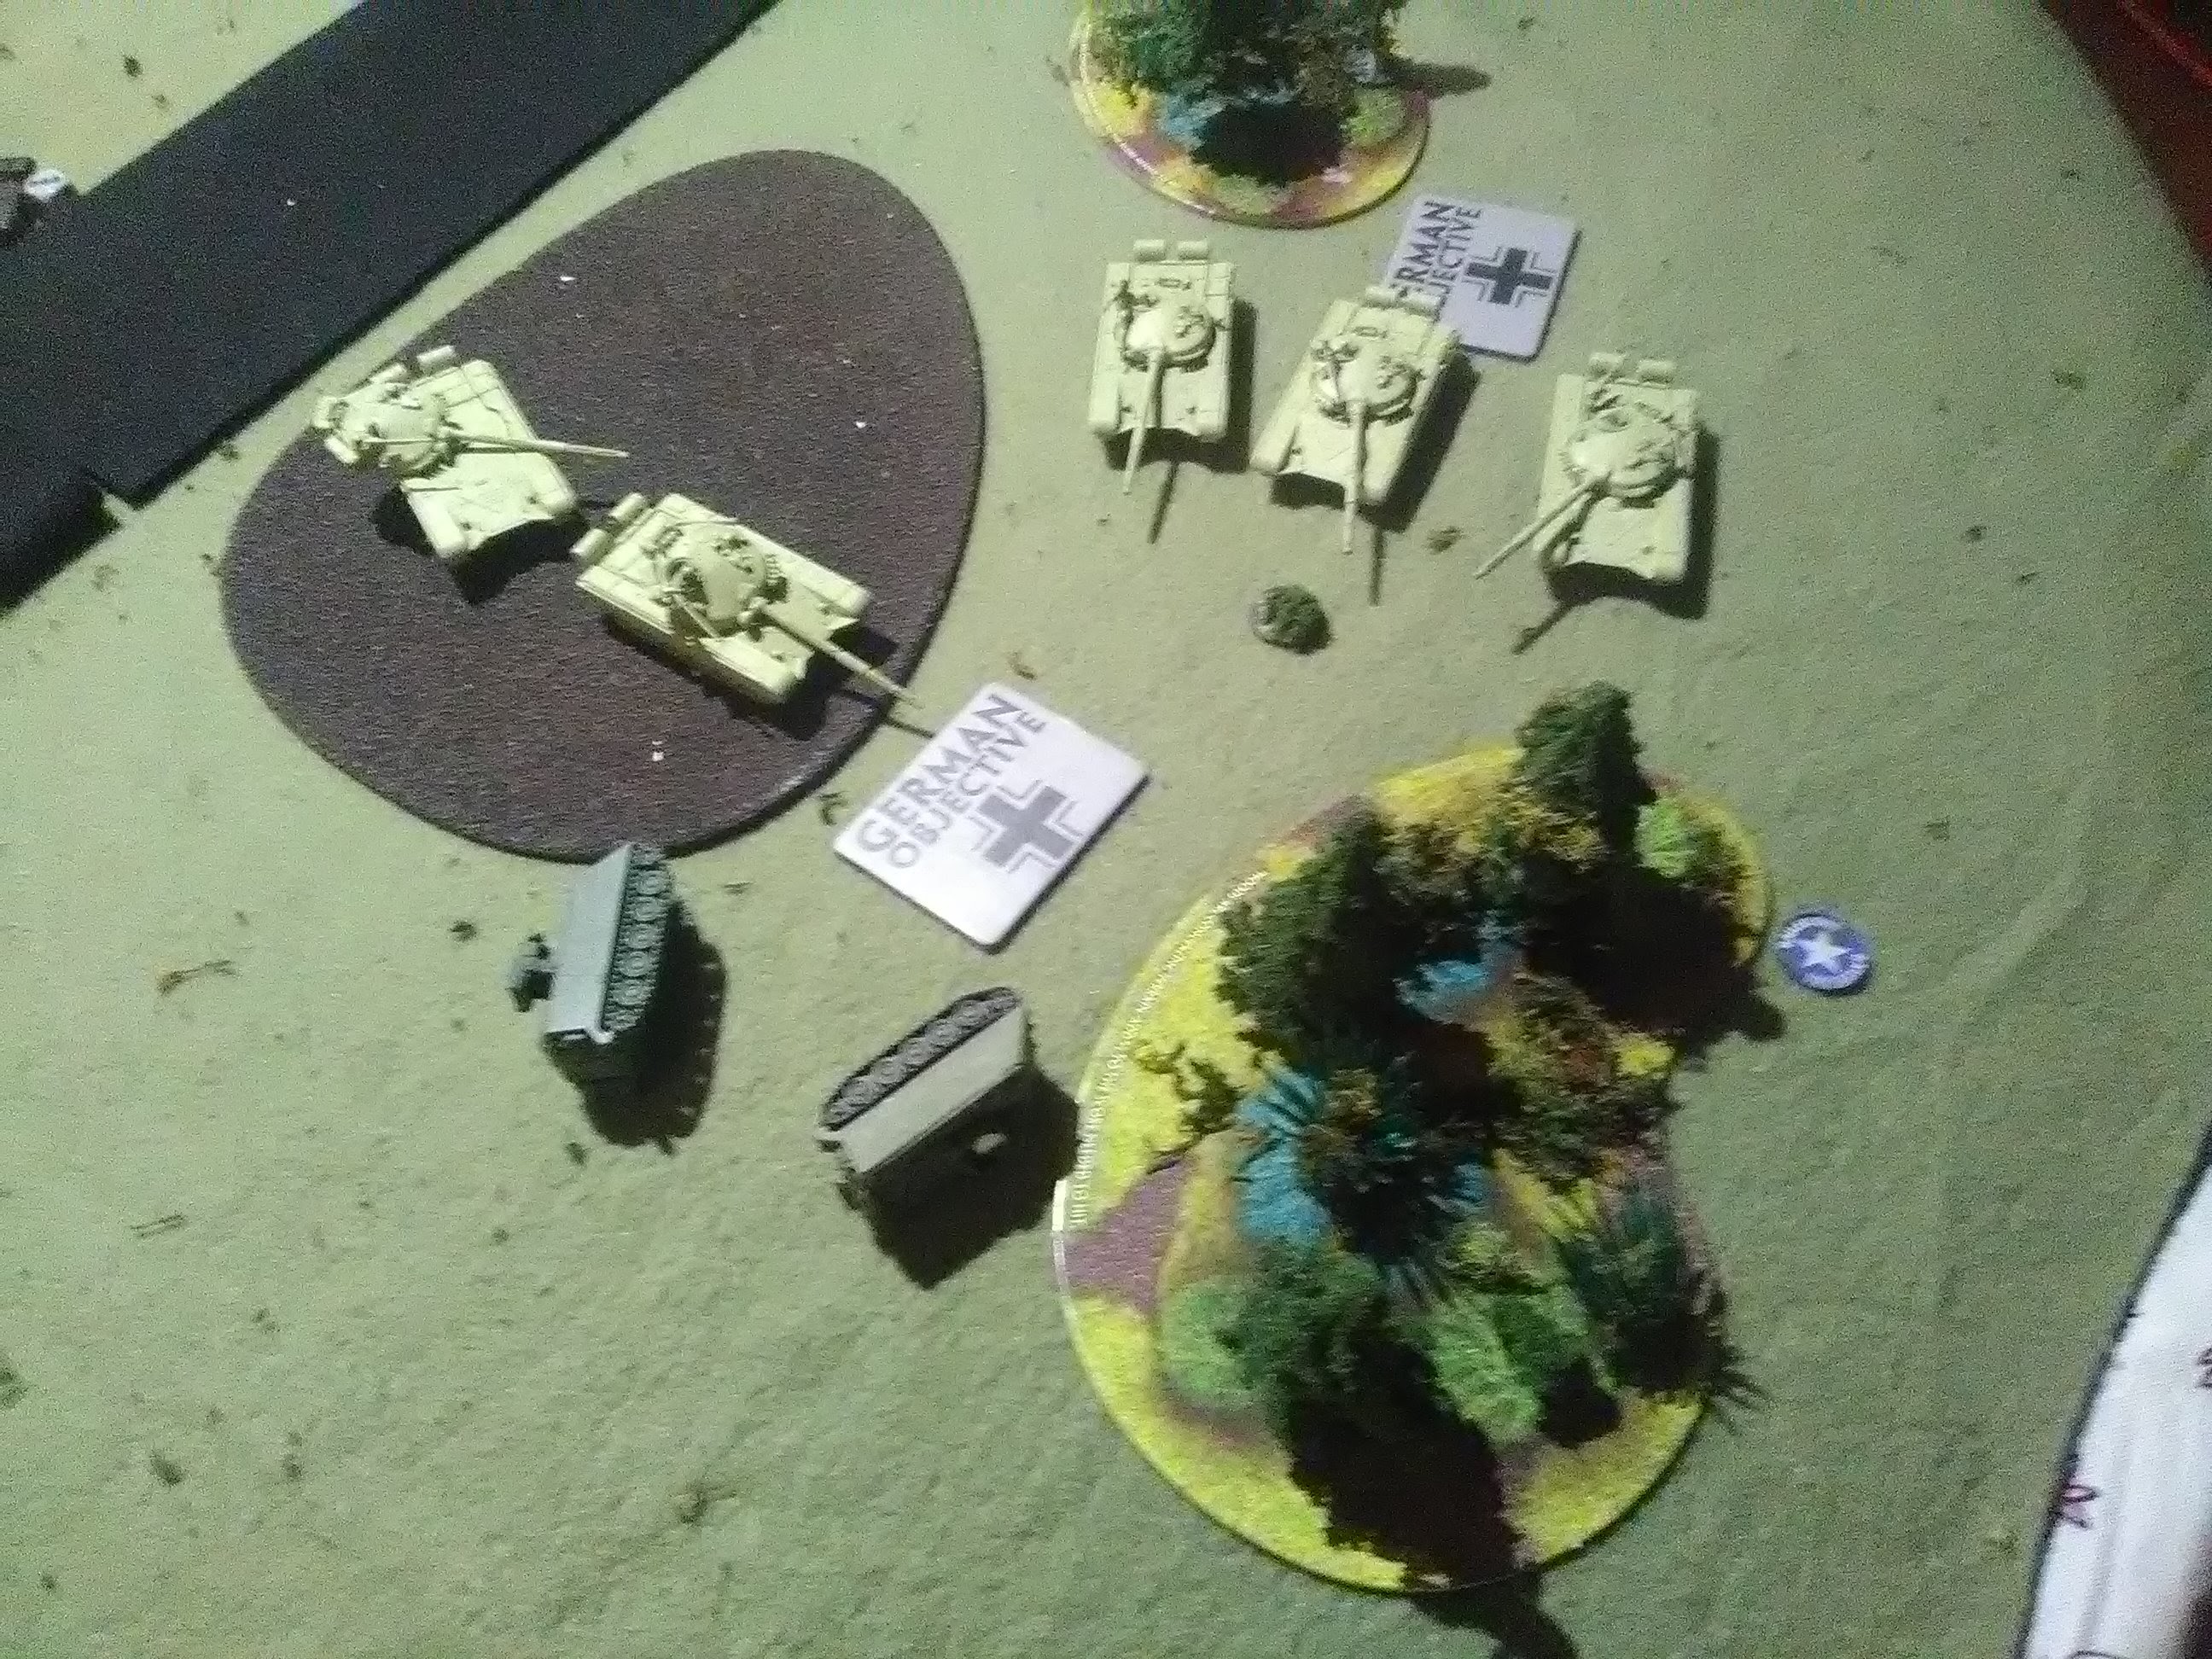
You can see it in the first picture. His BMP was JUST out of reach to the second objective and I had NOTHING near the objectives on the other side of the bridge. If the objectives had just been a little closer then his scout BMP would have won it all!!!
Jeremy put up a heck of a game! He still managed to pull a bit of a spoiler by killing my scouts and getting on the score board. That and his amazing luck with the remaining BMP just blew me away. I honestly don´t think things get much more even than that. It was a win, but it sure didn´t feel like it. But it was a win never the less.
My pick for the ¨man of the match¨ is for that stinking BMP1 scout. I just couldn´t kill him! Two rounds of shooting and the best I could pull was a bail. That lucky Ivan ensured that Jeremy would stay in the game long enough to get his reserves and it just about won the game for him to boot. Jeremy got his points out of that track!
I have to say, it is stunning to see how much of a difference scouts can make. They really can set you up for a win if you´re on the offensive. I really think that I would have lost this game if I didn´t get that extra bump up.
What a game!
What a game!
No comments:
Post a Comment