

SECOND BATTLE OF THE HOFF!
50 POINTS
Today me and my son played one of the Quick Missions as part of our Red Thunder campaign. We don´t have a lot of units ready to play with so a 50 point Quick Mission seemed to be the very thing. In this action we moved a bit south of the border to fight Scenario Six: Seize the Bridge! So this battle is happening along
Autobahn 72 where it crosses the Sächsische Saale.
Autobahn 72 where it crosses the Sächsische Saale.
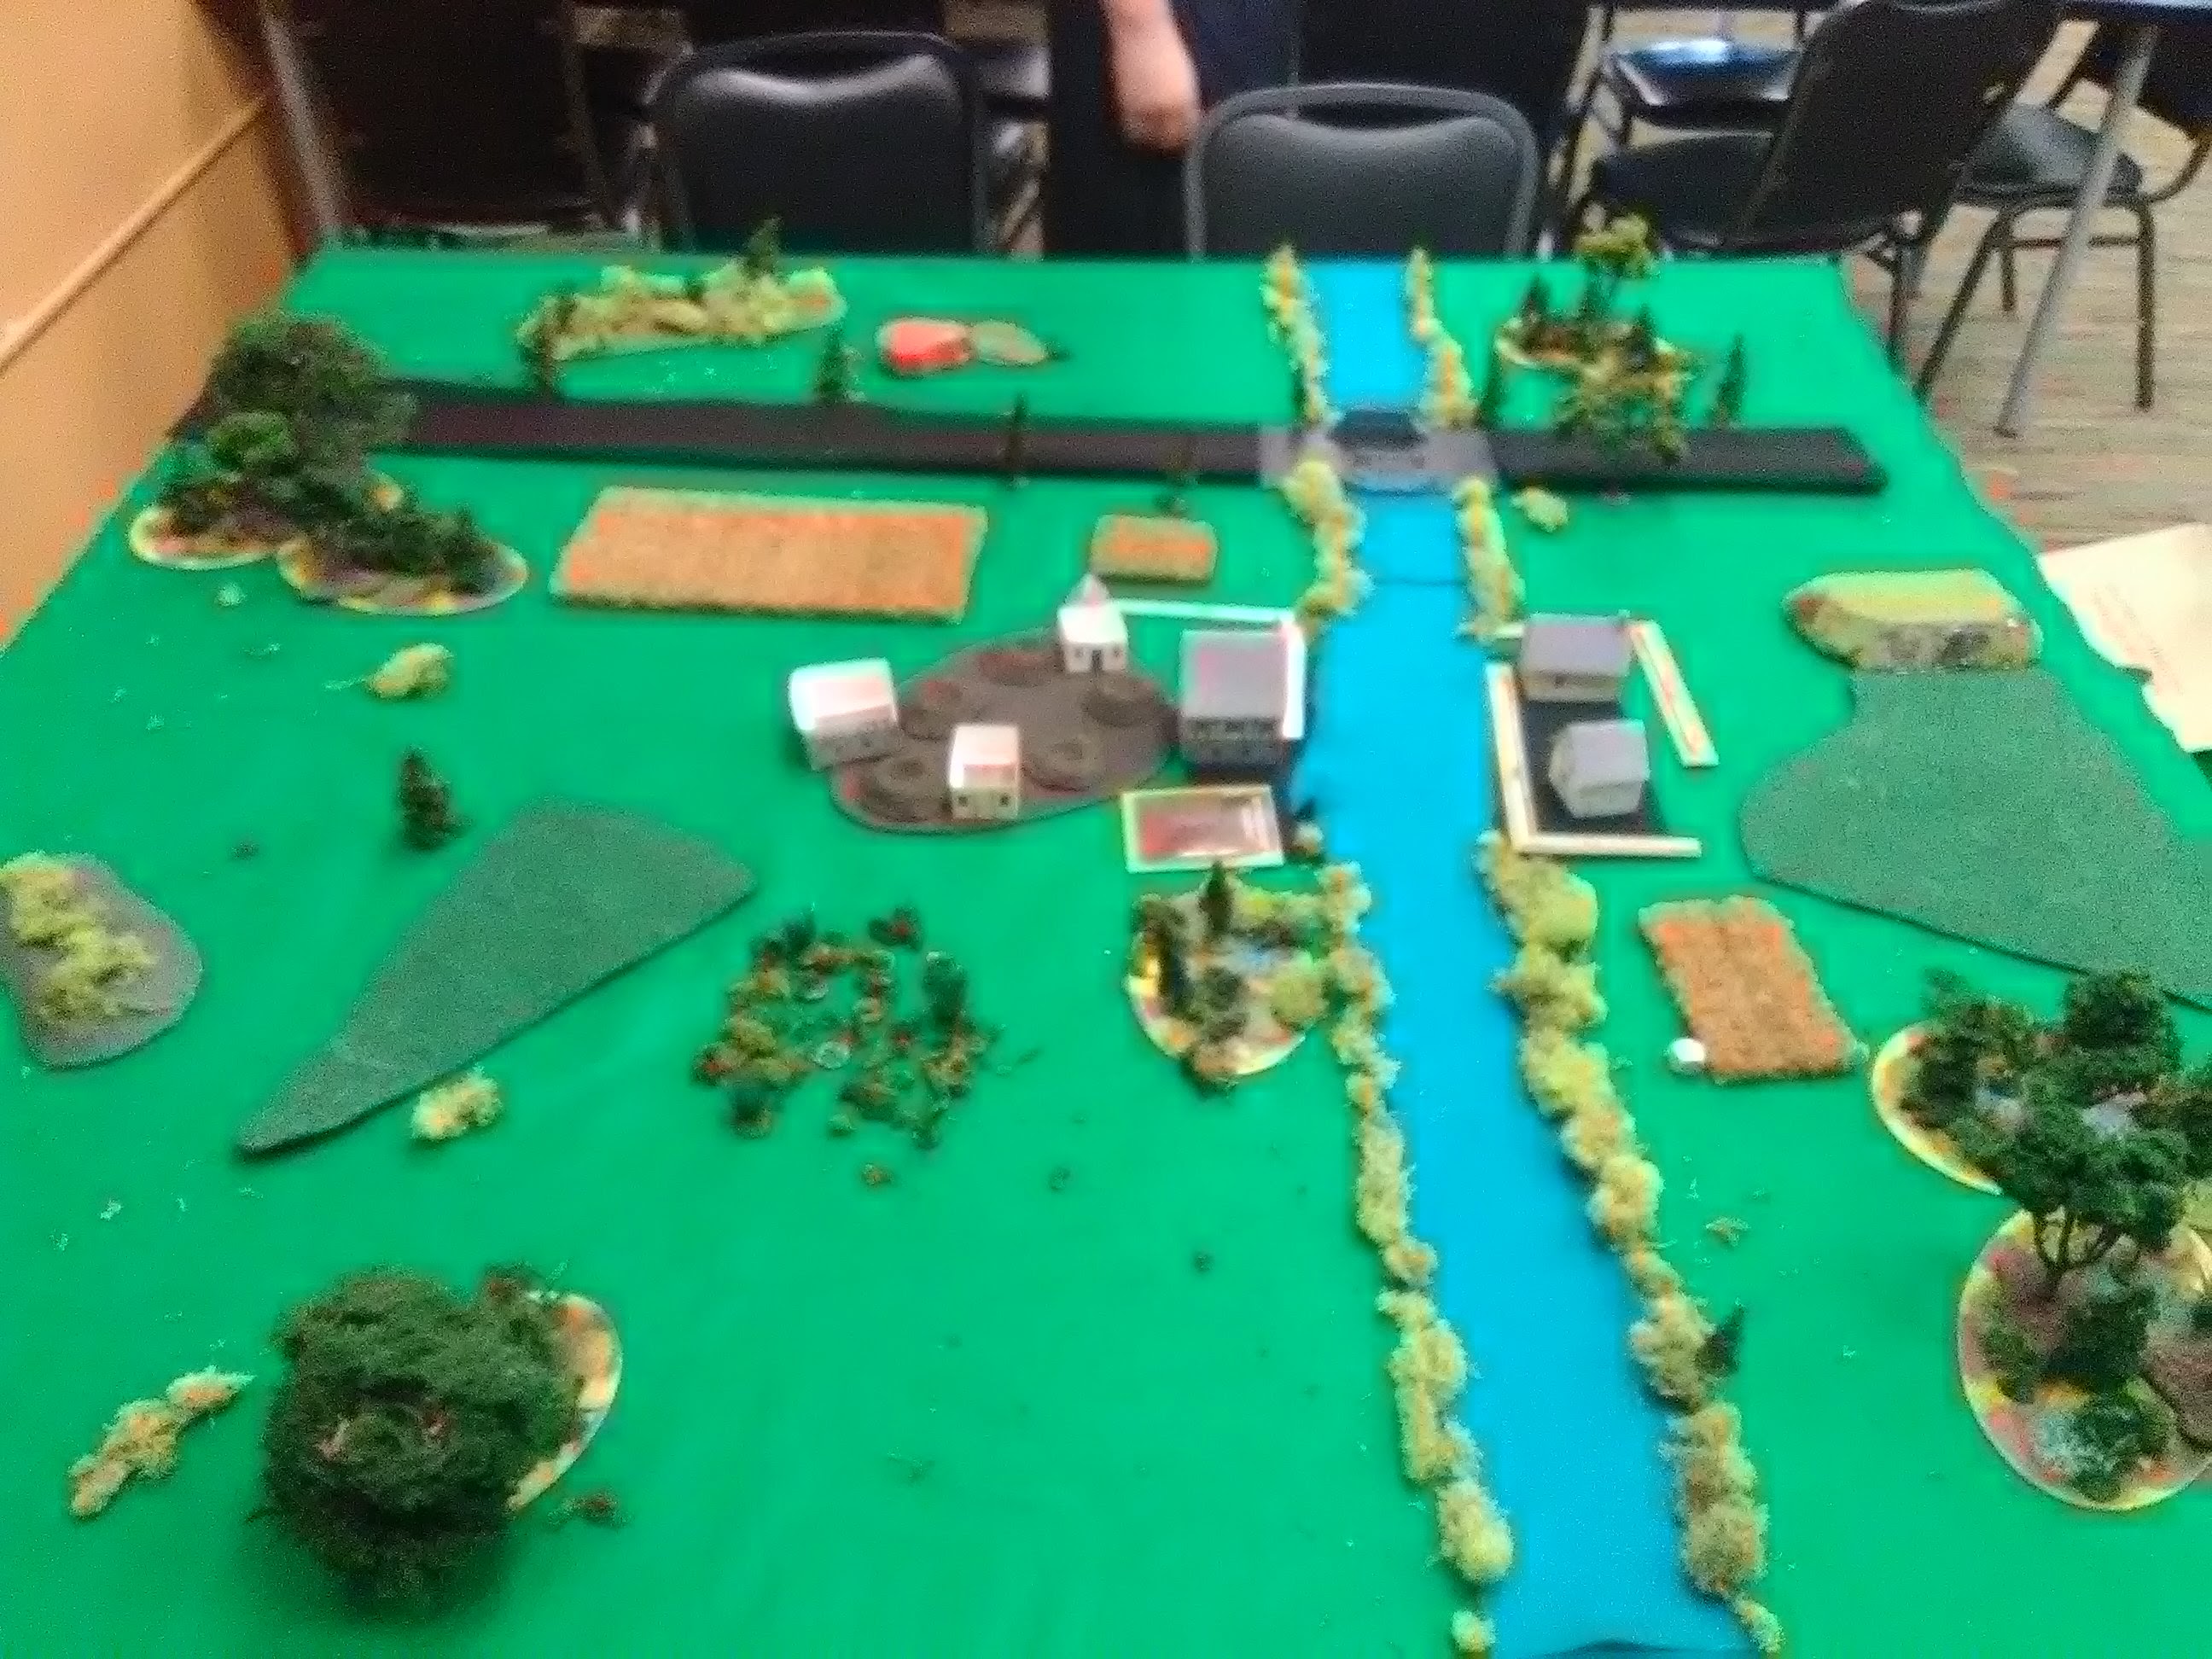

The US deployment zone was in the upper right quadrant of the battlefield with the bridge 8¨ from the centerline. This just happened to be in a block that was roughly formed by the Sächsische Saale and Autobahn 72.
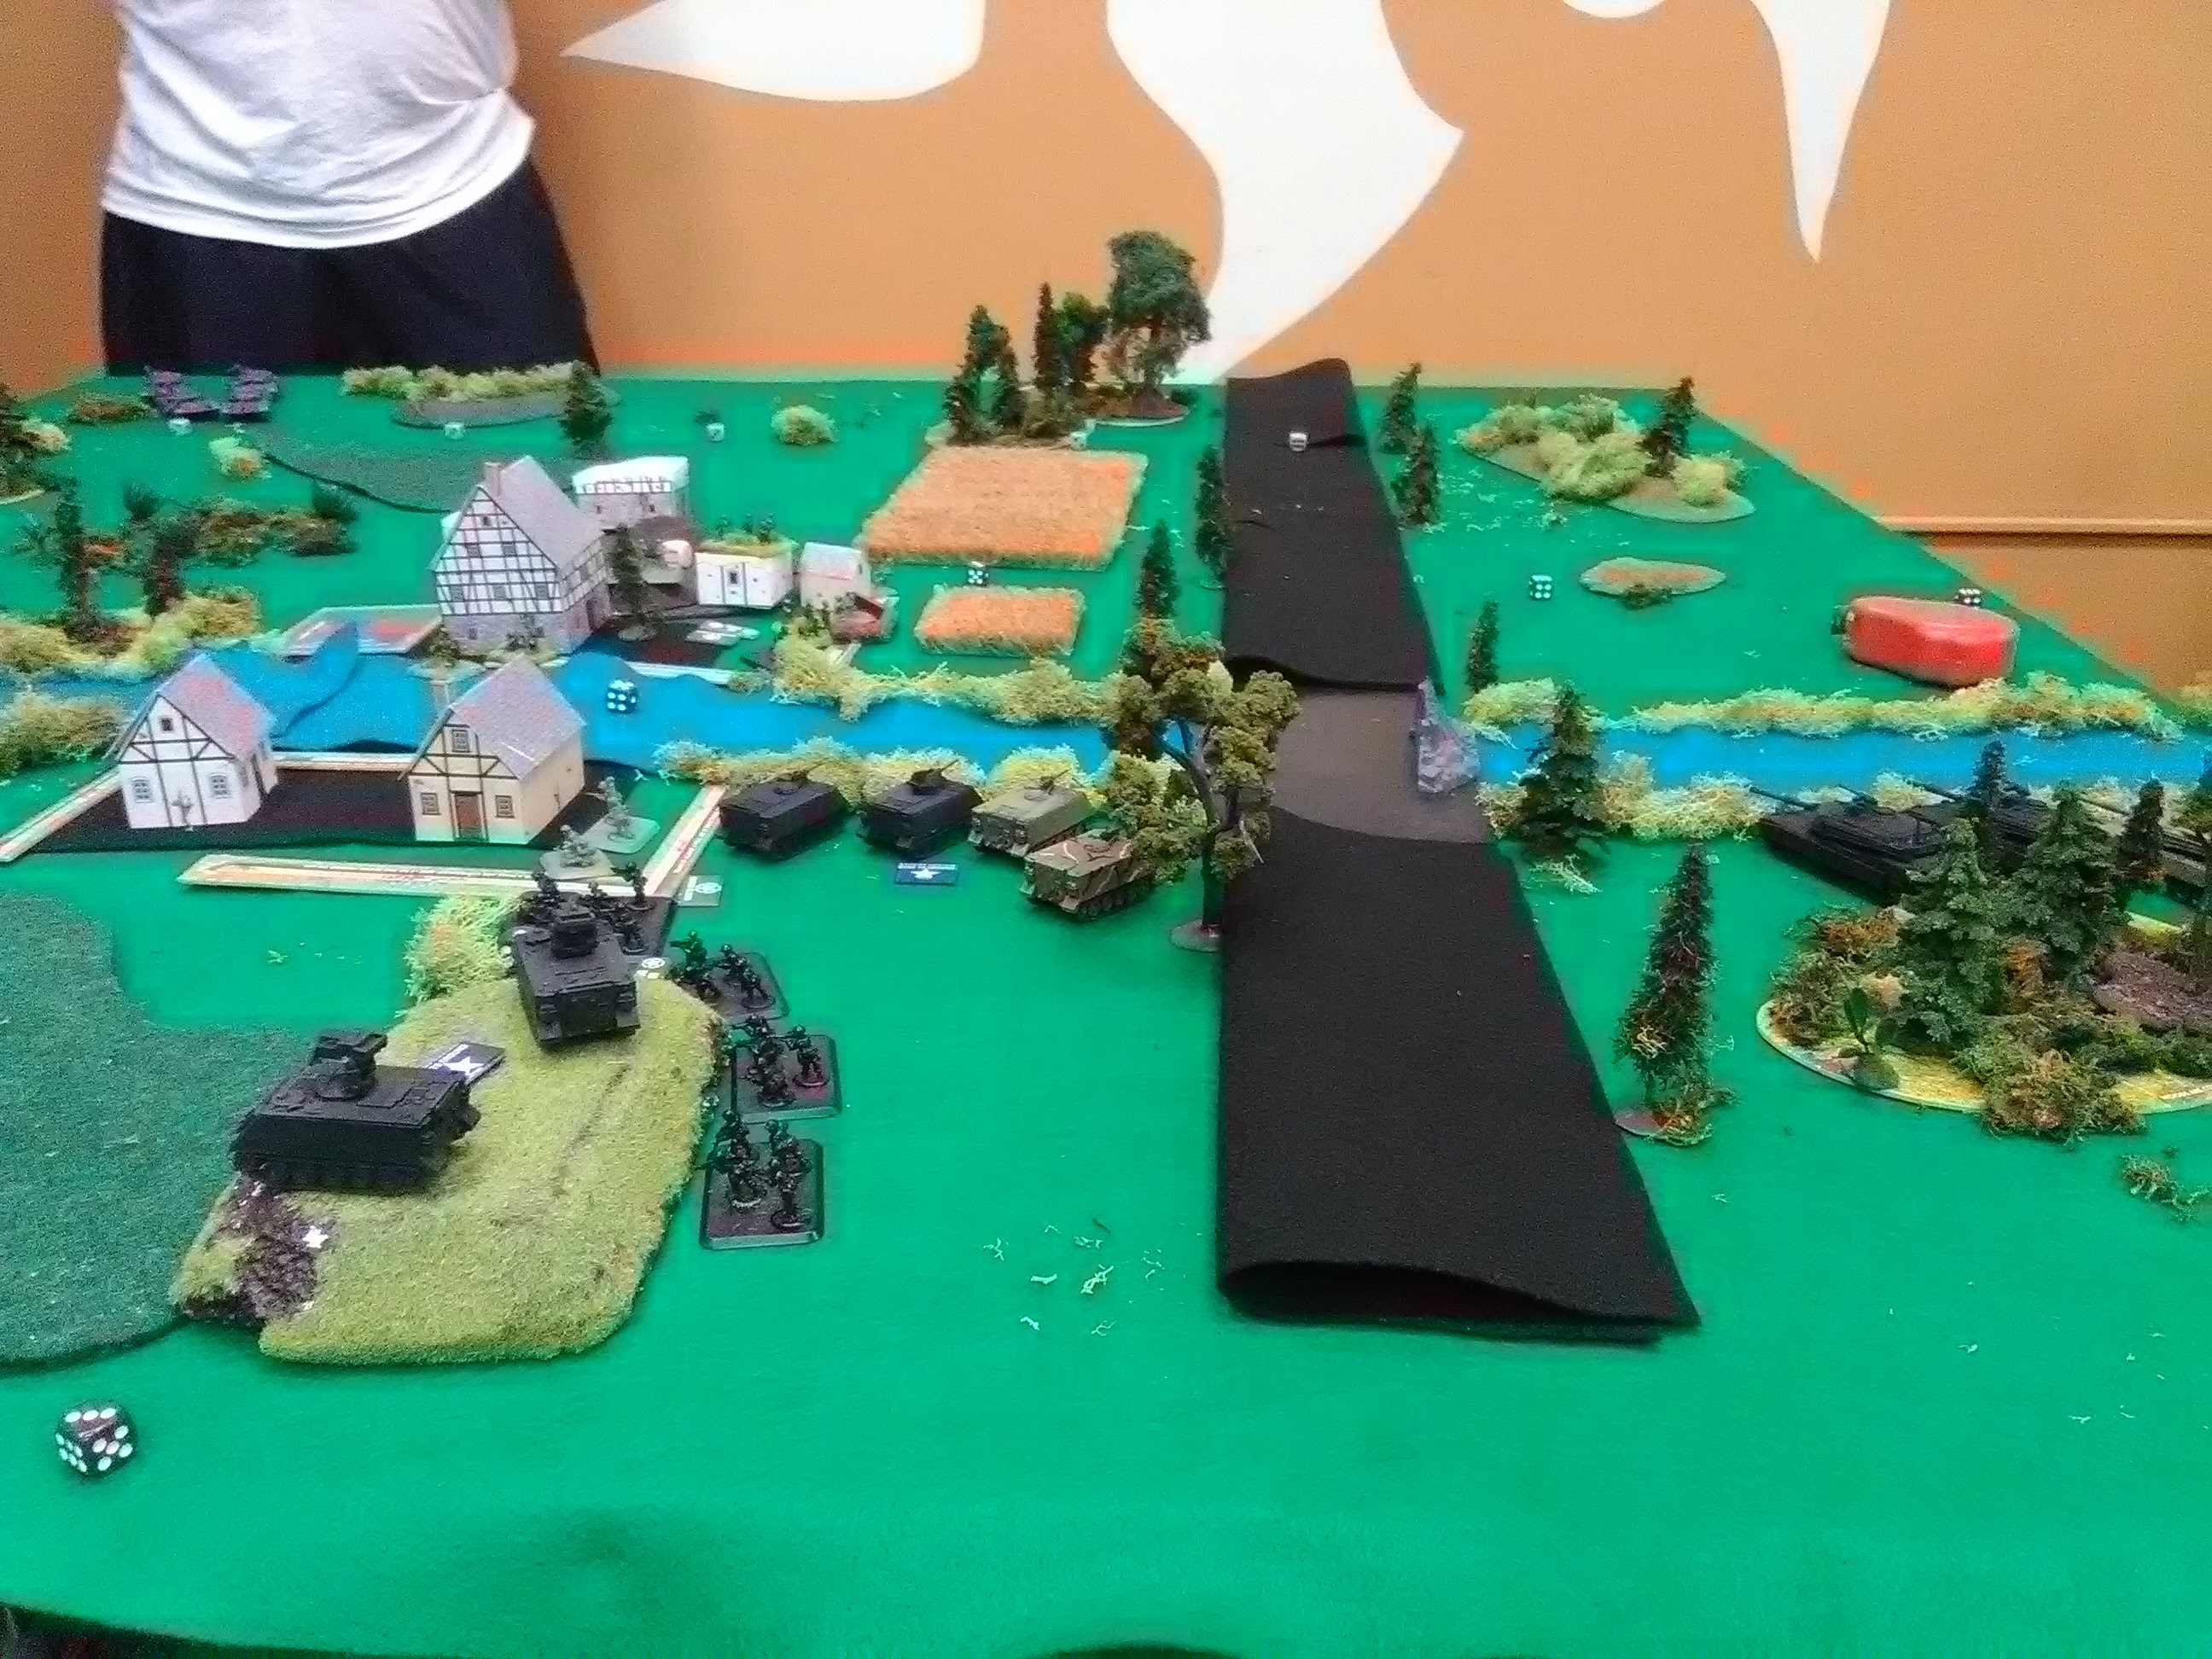
I placed my two platoons of mech infantry into blocking positions defending the village and extending down to the hill on the south side of the river. One place to note is the tall house on the north bank. I placed two Dragon teams in the top floor. As it would turn out they would have quite the view of the battlefield and would play a key role in the upcoming action. My ITV platoon was in hull down positions along the hill so that they had good fields of fire to the north and the west, just in case the Soviets had a reserve to flank my line. I kept my 113 tracks in covered positions near the river and behind the forest. I wasn't too sure where the best place was for my Abrams platoon, so I kept them close to the bridge so they could redeploy on command to the north or west. In essence I had a nice castle style defense clustered around the bridge.
Jeremy´s force deployed in the opposite corner of my position. He told me later that his plan was to cross the river with his BMPs and turn my flank. As that was developing he was going to maneuver two tank platoons along with the dismounted infantry through the center and pin my forces in place to support the flank assault. It was a pretty imaginative maneuver, unfortunately it didn't really go off as planned.
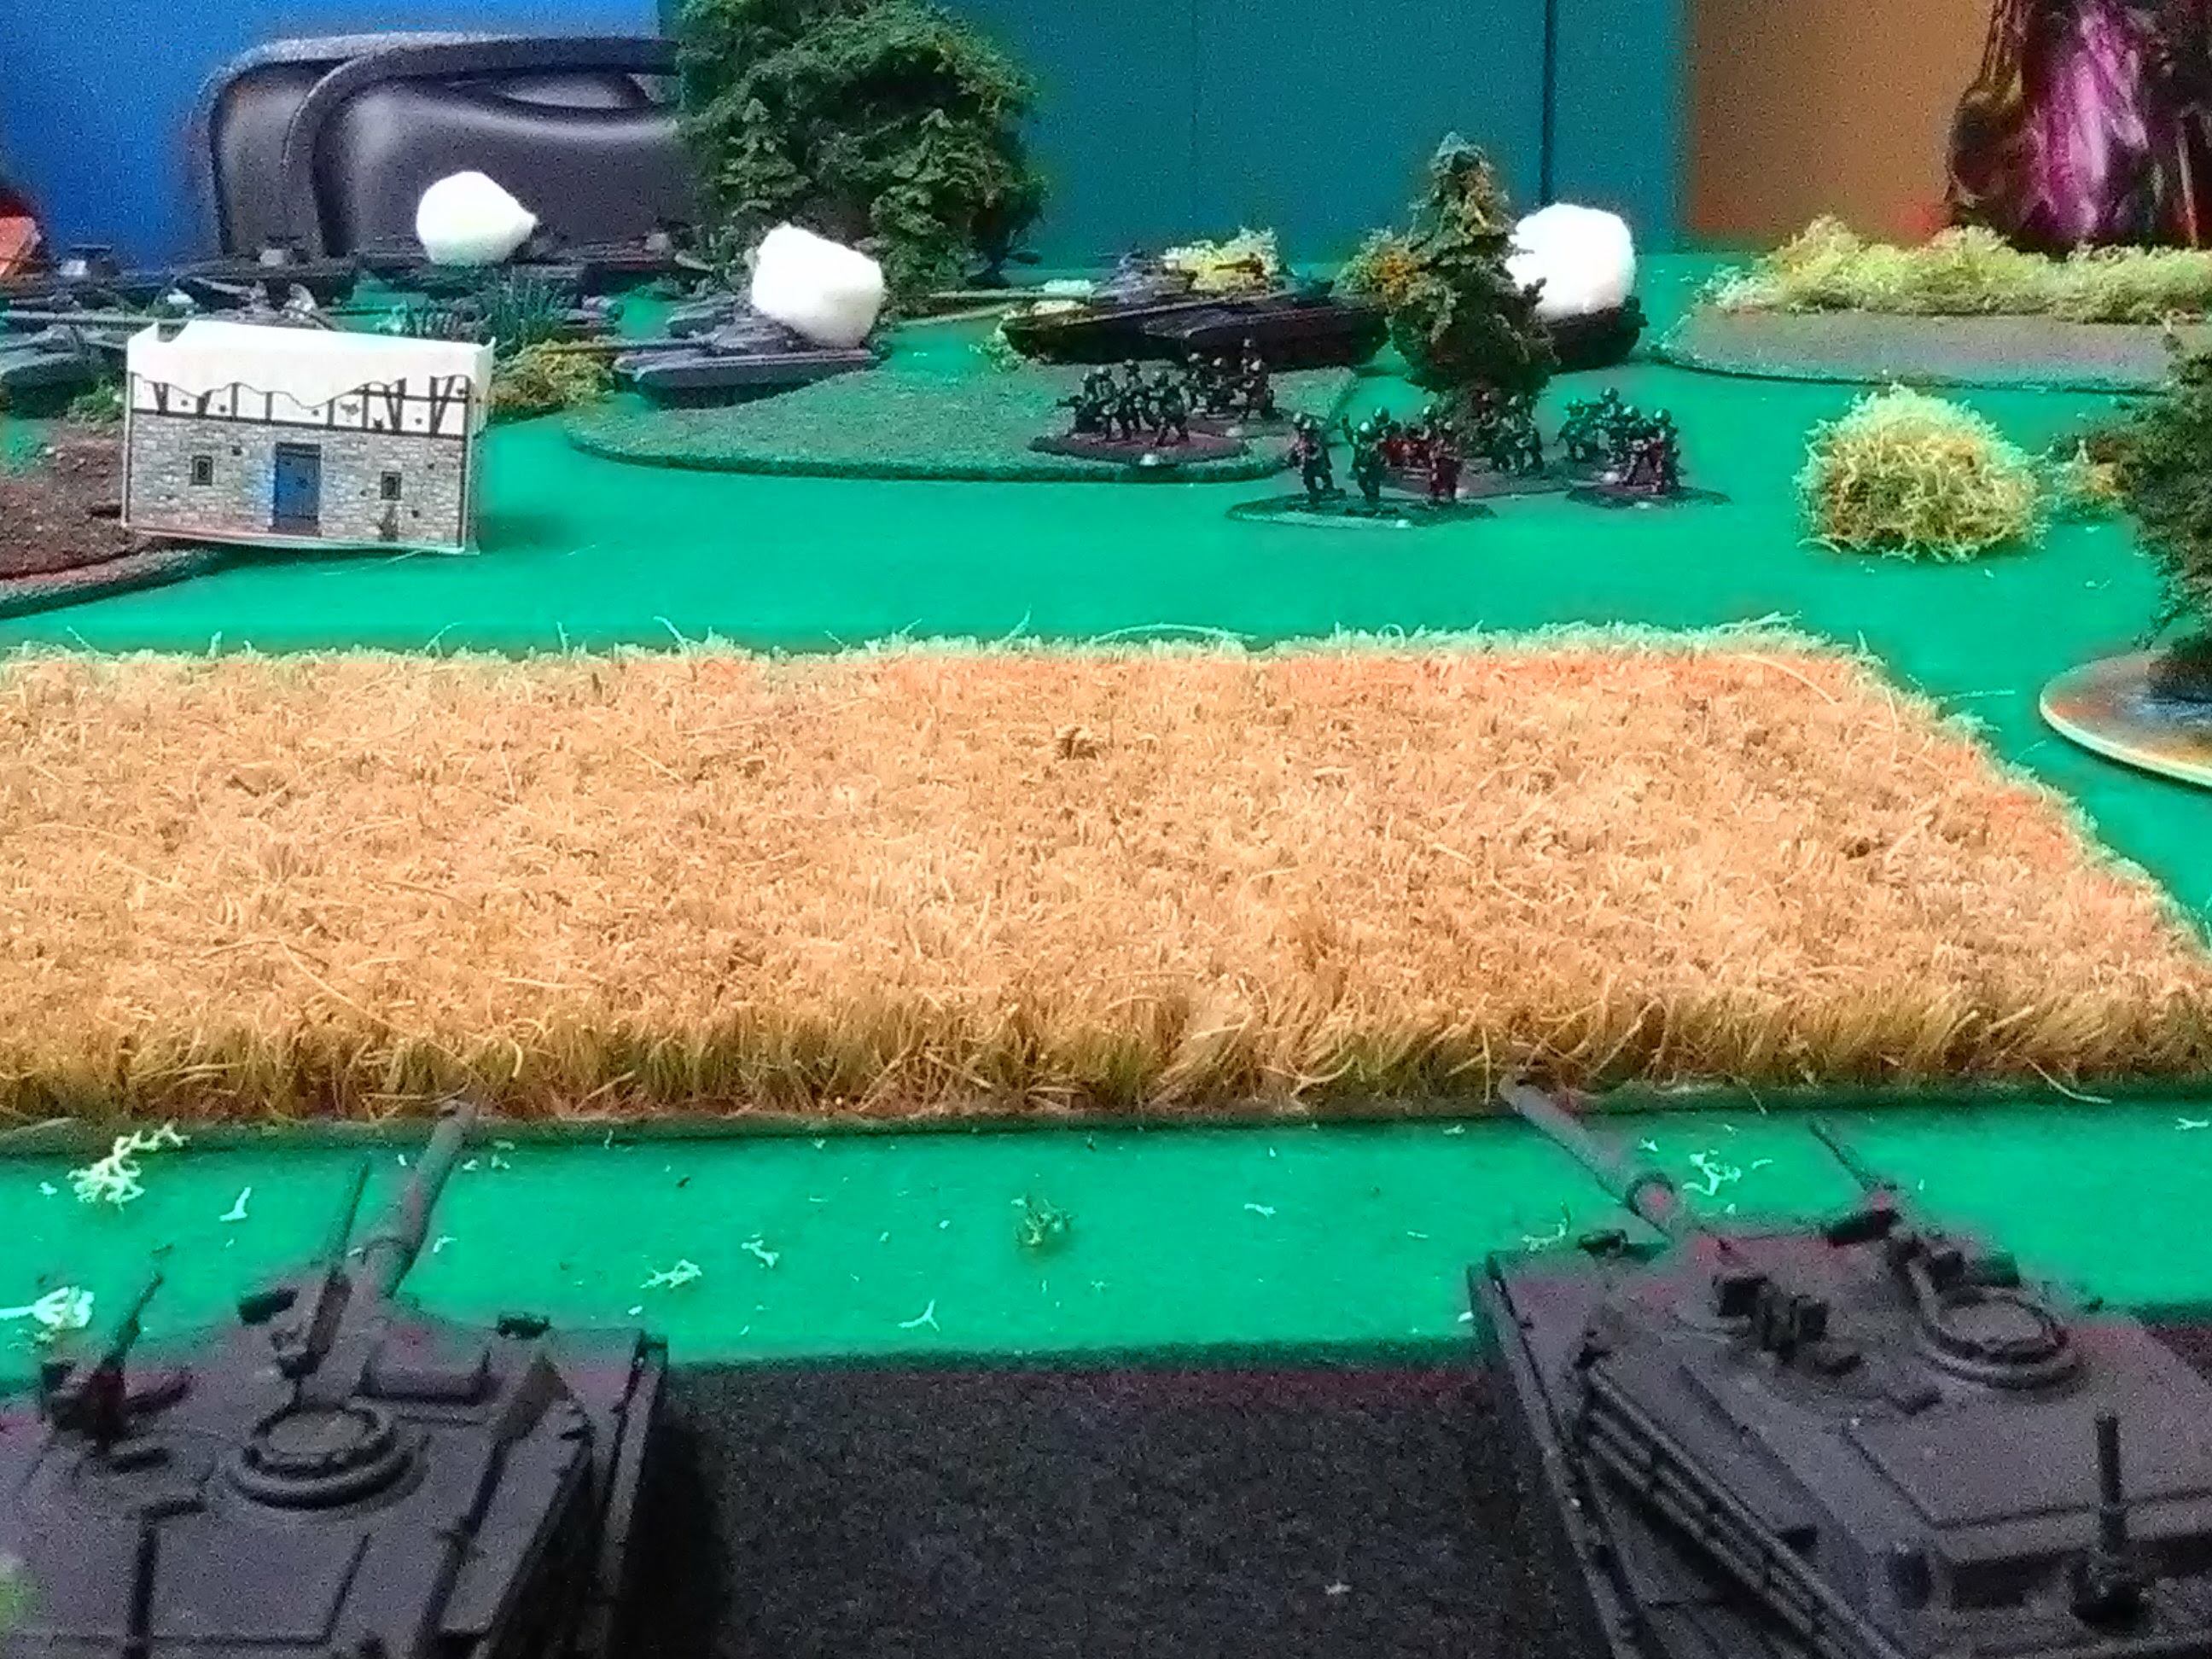
Jeremy opened the battle on Turn 1 by sweeping his tank battalion forward into the middle of the battlefield. He had a rough time with shooting because my grunts were dug in deep in the village. Getting sevens is pretty tough and nine tank shots just couldn't carry it off.
My return fire was a lot better though. During my movement phase I rushed my tanks across the bridge to take up flanking positions. I was able to get my lead tank into firing position and he blasted one of the Soviet tanks. My ITV platoon joined in the fun by trashing one tank and bailing out another. My Dragons hiding in the tall building we able to pop off some rockets but none could get through the tough hide of T72.
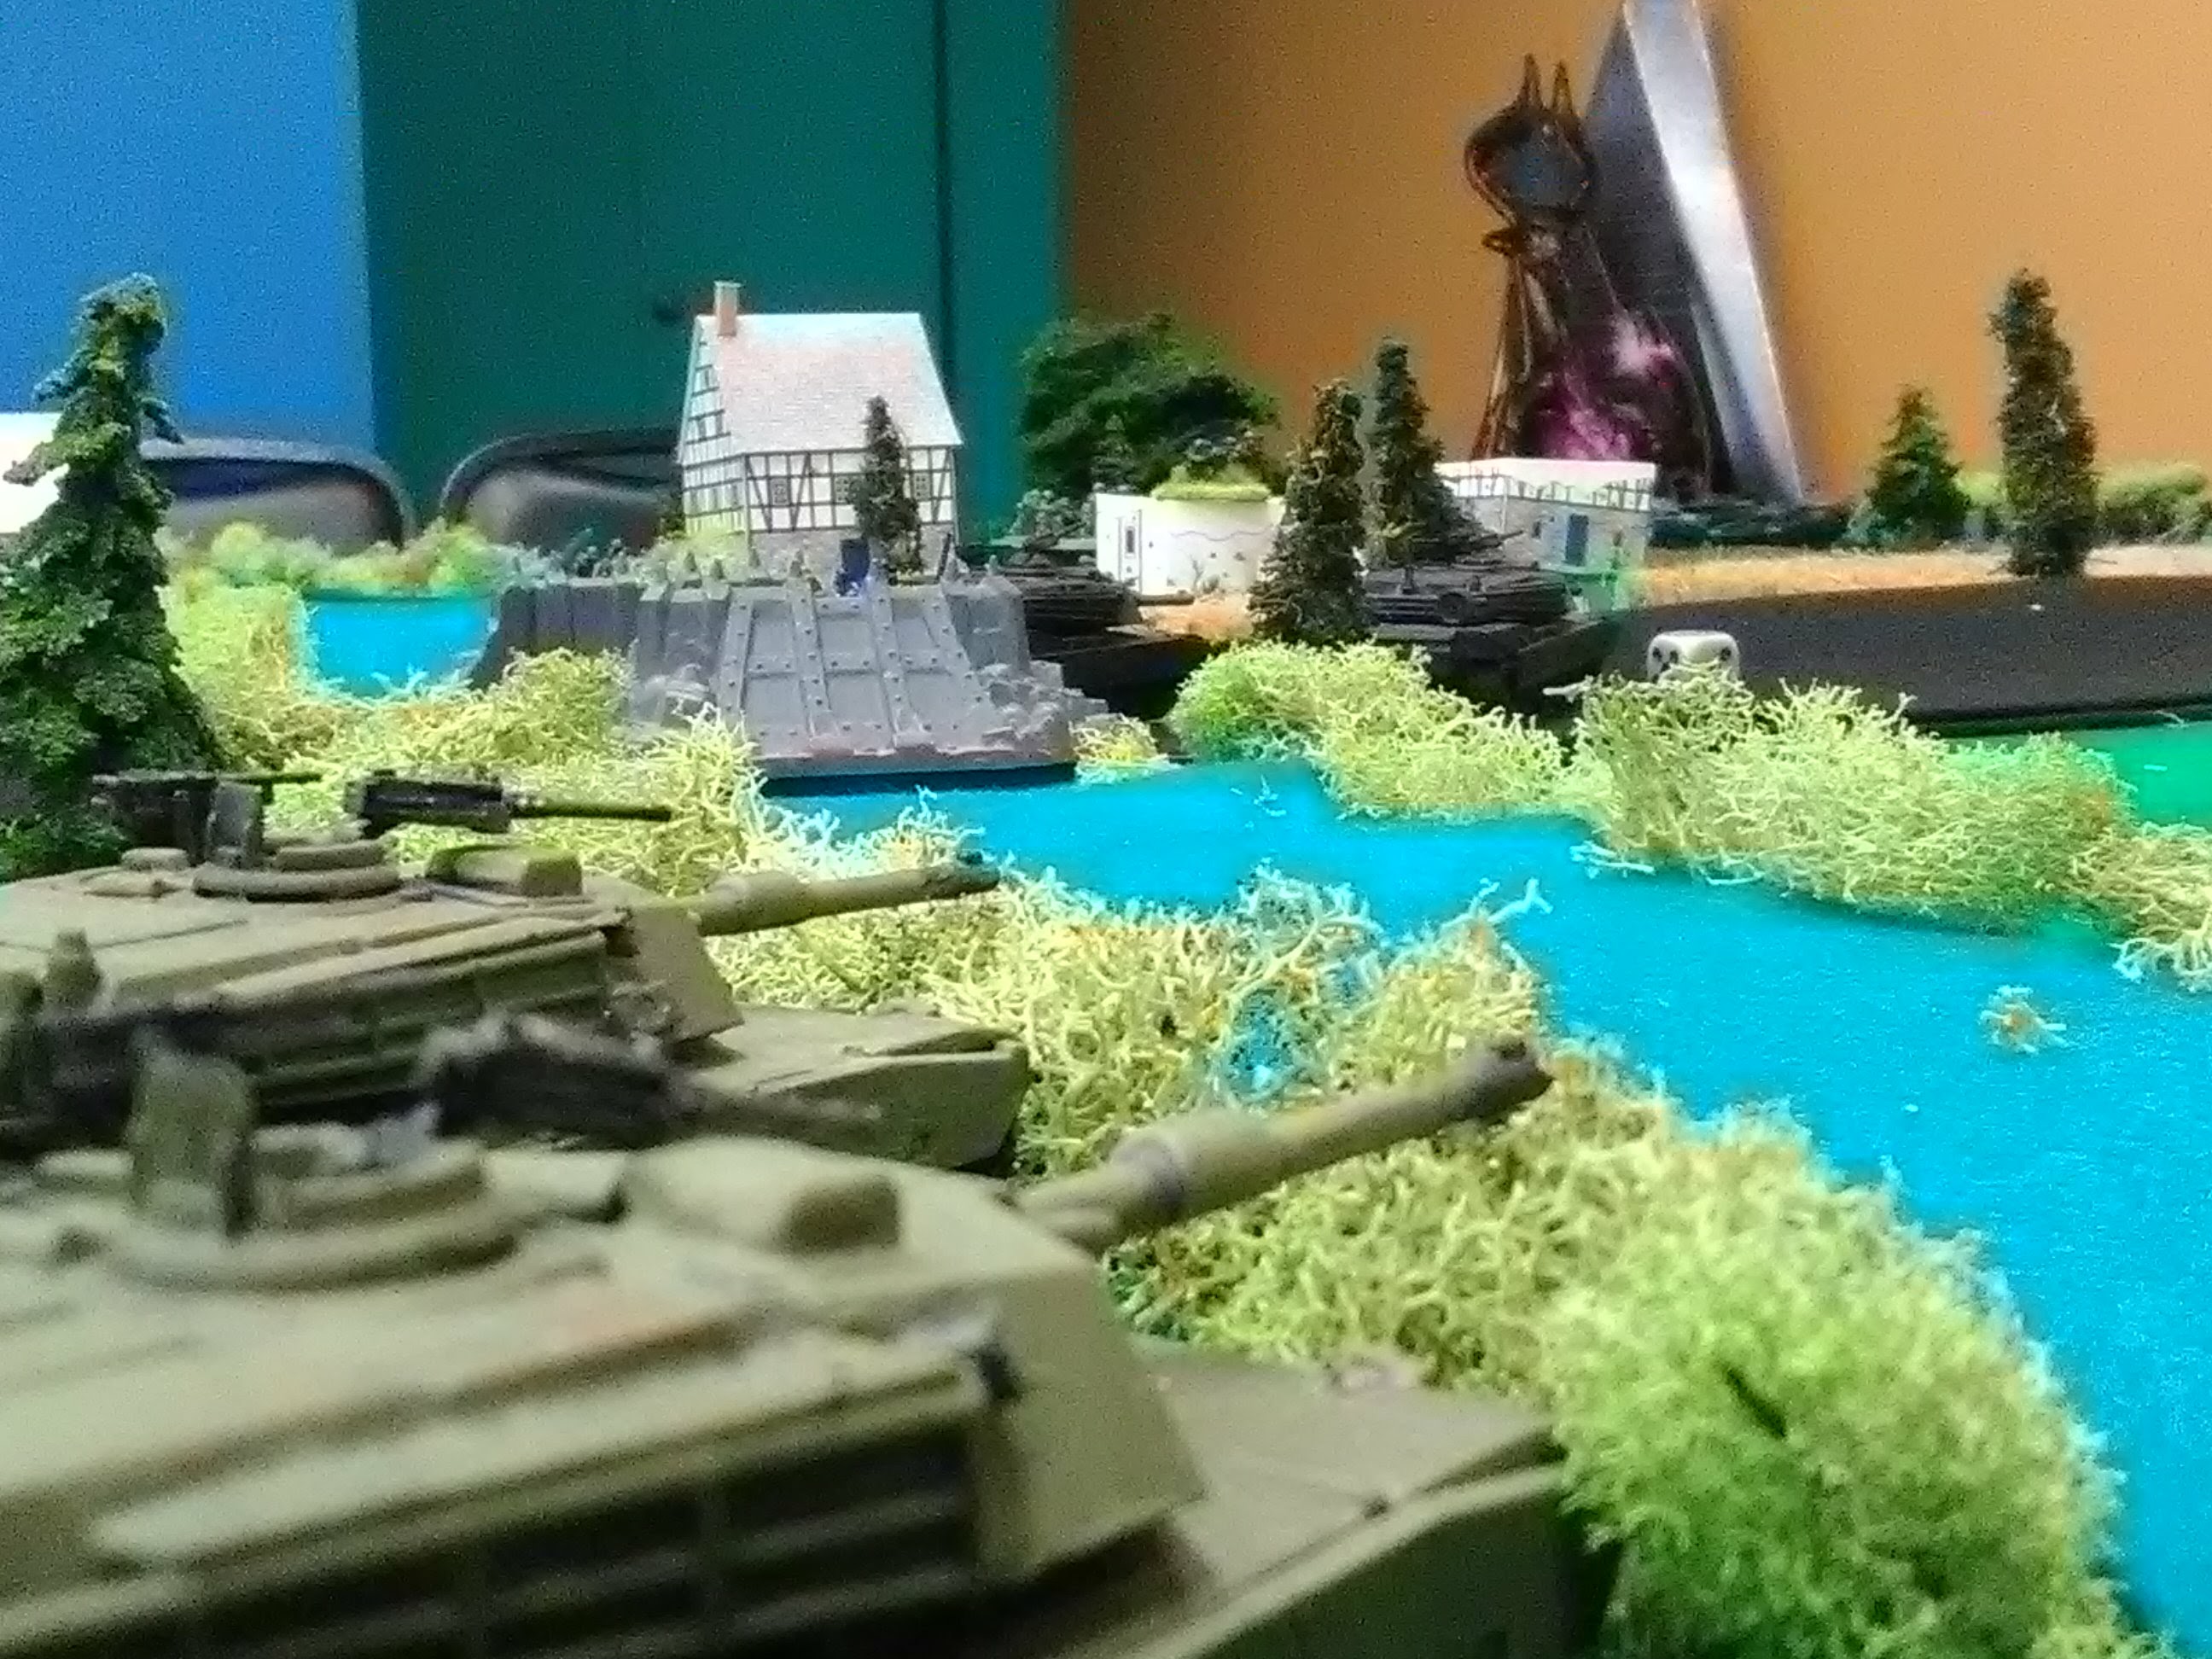
Turn Two was pretty much a wash for me but Jeremy´s luck seemed to improve. Jeremy moved his BMPs into position to cross the river and repositioned his tanks to mass his guns. He also rushed his infantry forward to flank his tanks and to try to engage my tanks. His shooting warmed a bit with an excellent shot that plastered one of my ITVs and a company massed fire into my tank platoon which bailed a tank. I managed to remount my tank and rushed the remainder of the platoon into position to support the lead section. My trailing tank slowed a bit and took up a firing position on the bridge. My lead three tanks opened up and scored six hits on Jer´s tanks! I just knew that I had him... until he started making armor saves. The kid´s dice were on fire! He passed every test except one and I whiffed the firepower check and just bailed a tank. My ATGMs just couldn't get their act together! Dragons and TOWs flashed through the air and didn't even come close.
Sort of like that but nowhere near as cool.
Turn Three was a nightmare for Jeremy! I switched off dice and that seemed to do the trick for me. Jeremy started the turn by crossing the river with his BMP company and by rushing up his infantry. The tanks wiggled a bit looking for shots but pretty much stayed in the center of the table under cover. Unfortunately his dice went cold again in the shooting phase. He tossed cannon shots at my tanks, the Dragon team in the building, and he plinked a shot or two at the ITV. Nothing worked for him! The shots at the missile teams went wide and the shots at my tanks just bounced off the Abrams´ thick hide.
My luck couldn't have been more different! His BMP company moved into my engagement envelope for the ATGMs and I let them rip. I guess my gunners just needed to warm up a bit! TOWs and Dragons flew true this time and slammed home into the bimps. My tank joined into the fun by placing two HEAT rounds right into the lead carrier. When the smoke cleared three out of the four carriers were brewed up and the fourth failed his morale check. In just one short firing phase Jeremy got to watch his main battle plan go up in flames. My tank gunners on the flank joined in a took out another T72. Yeah, six shots, again, only managed to bag a single tank. Still though, things were looking great for me. I took out his whole (under strength) BMP company and 4 T72s . The Russian force was really hurting with only 5 tank runners and the motor rifle company´s dismounts. I just knew that I had the game in the bag.

That´s when Jeremy changed strategies. On Turn Four Jeremy turned his force 90 degrees and moved everything right toward my thin line of Abrams. He did make one major mistake: he didn´t keep his infantry in cover. The grunts swarmed across the open field near my infantry and I took advantage. Three SAW teams dropped a bucket of dice on the Soviets and Jeremy´s sucky luck did the rest. Soviet motor riflemen went down in heaps with only three teams surviving my fire.
One Turn Five Jeremy´s tanks also raced forward and everyone poured fire into my tank platoon and they were hitting too! Every single tank in my platoon took a hit and I knew I was hurting now- I´m terrible when it comes to armor saves.
However my luck held, sort of. Only one of my tanks died, but two more were bailed. Jeremy followed up the cannon fire with a rush of infantry. My surviving tank raked the infantry with fire but it just wasn't enough. One RPG team died but the rest made it though and assaulted my tanks. The two bailed tanks died and the survivor managed to fall back. Unfortunately the tank platoon was in ¨Bad Spirits¨ and had unit morale check on a 4+. If I botched that roll then the unit would be destroyed and that could hurt my victory points. I passed with a four! Talk about no margin for error! It was then that the timer called the game!
However my luck held, sort of. Only one of my tanks died, but two more were bailed. Jeremy followed up the cannon fire with a rush of infantry. My surviving tank raked the infantry with fire but it just wasn't enough. One RPG team died but the rest made it though and assaulted my tanks. The two bailed tanks died and the survivor managed to fall back. Unfortunately the tank platoon was in ¨Bad Spirits¨ and had unit morale check on a 4+. If I botched that roll then the unit would be destroyed and that could hurt my victory points. I passed with a four! Talk about no margin for error! It was then that the timer called the game!
Jeremy was sooooo close! He infantry had pushed through my tank platoon but just couldn't close the distance. To deny me a victory he had to be within 8¨ of the bridge. He closest team was 10¨. So close, but so far.
I managed to destroy one of his units (the BMPs) and he almost got one, but that platoon still had one runner! So a 6-1 win for me.
Honestly Jeremy could have won the game if he got moving on the bridge earlier. He just deployed too far away from the bridge and he spent too much time and focus on the BMP company and its crossing. My castle defense worked perfectly though. My units were in mutually supporting positions and I maneuvered my units aggressively rather than staying static. Maybe I was too aggressive... my tanks were exposed, bailed, and too close to the Russian infantry. Next time that could cost me! I also didn't do a good job massing my fires and destroying enemy units. I spread out my shots too much and that could have hurt me too. Team Yankee doesn't care too much about killing teams, you´ve got to kill UNITS to get on the score board.
On the whole, a great game and one well fought by the Russians/Jeremy. So on to the next theater!
Time now Charlie Mike.
TGunner,
ReplyDeleteAwesome fight man, thanks for posting, and it's great playing against your kids, ain't it? I didn't think too much of it when you said you won, but then I saw the pic of all those knocked out Abrams and thought "you didn't win by that much, buddy, better watch yourself!" ;)
Looking forward to more.
V/R,
Jack
Thanks Jack.
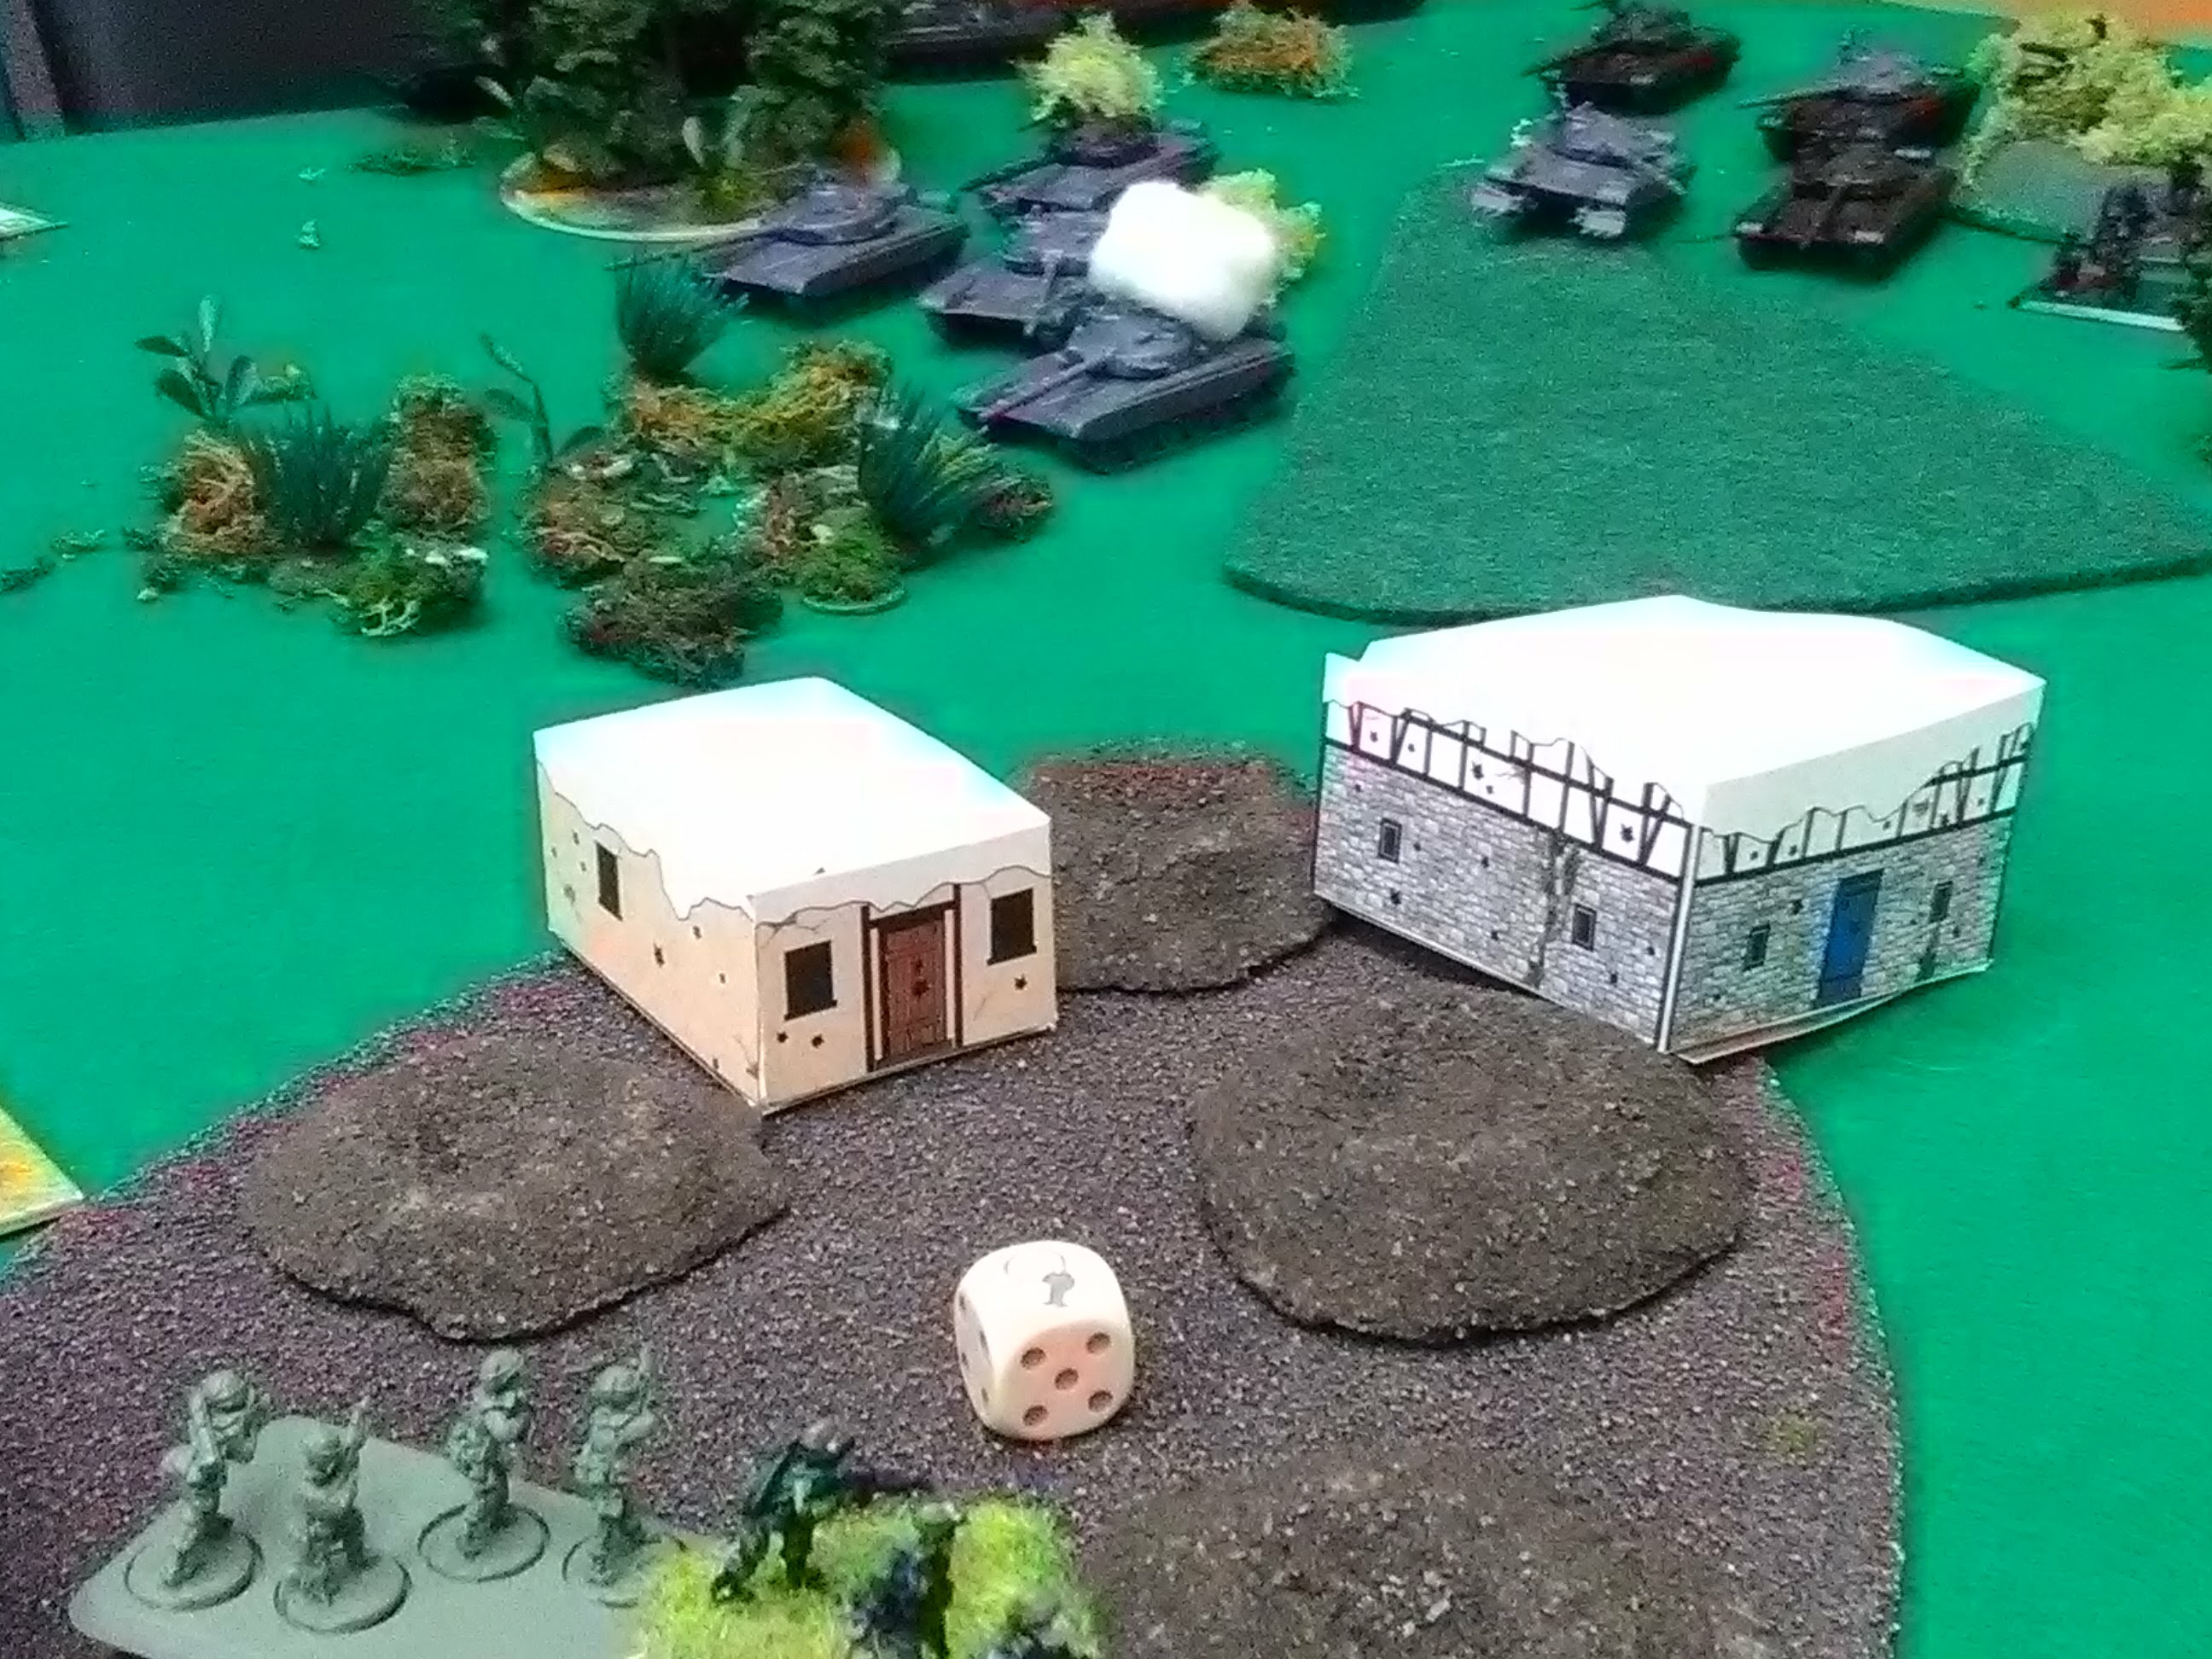
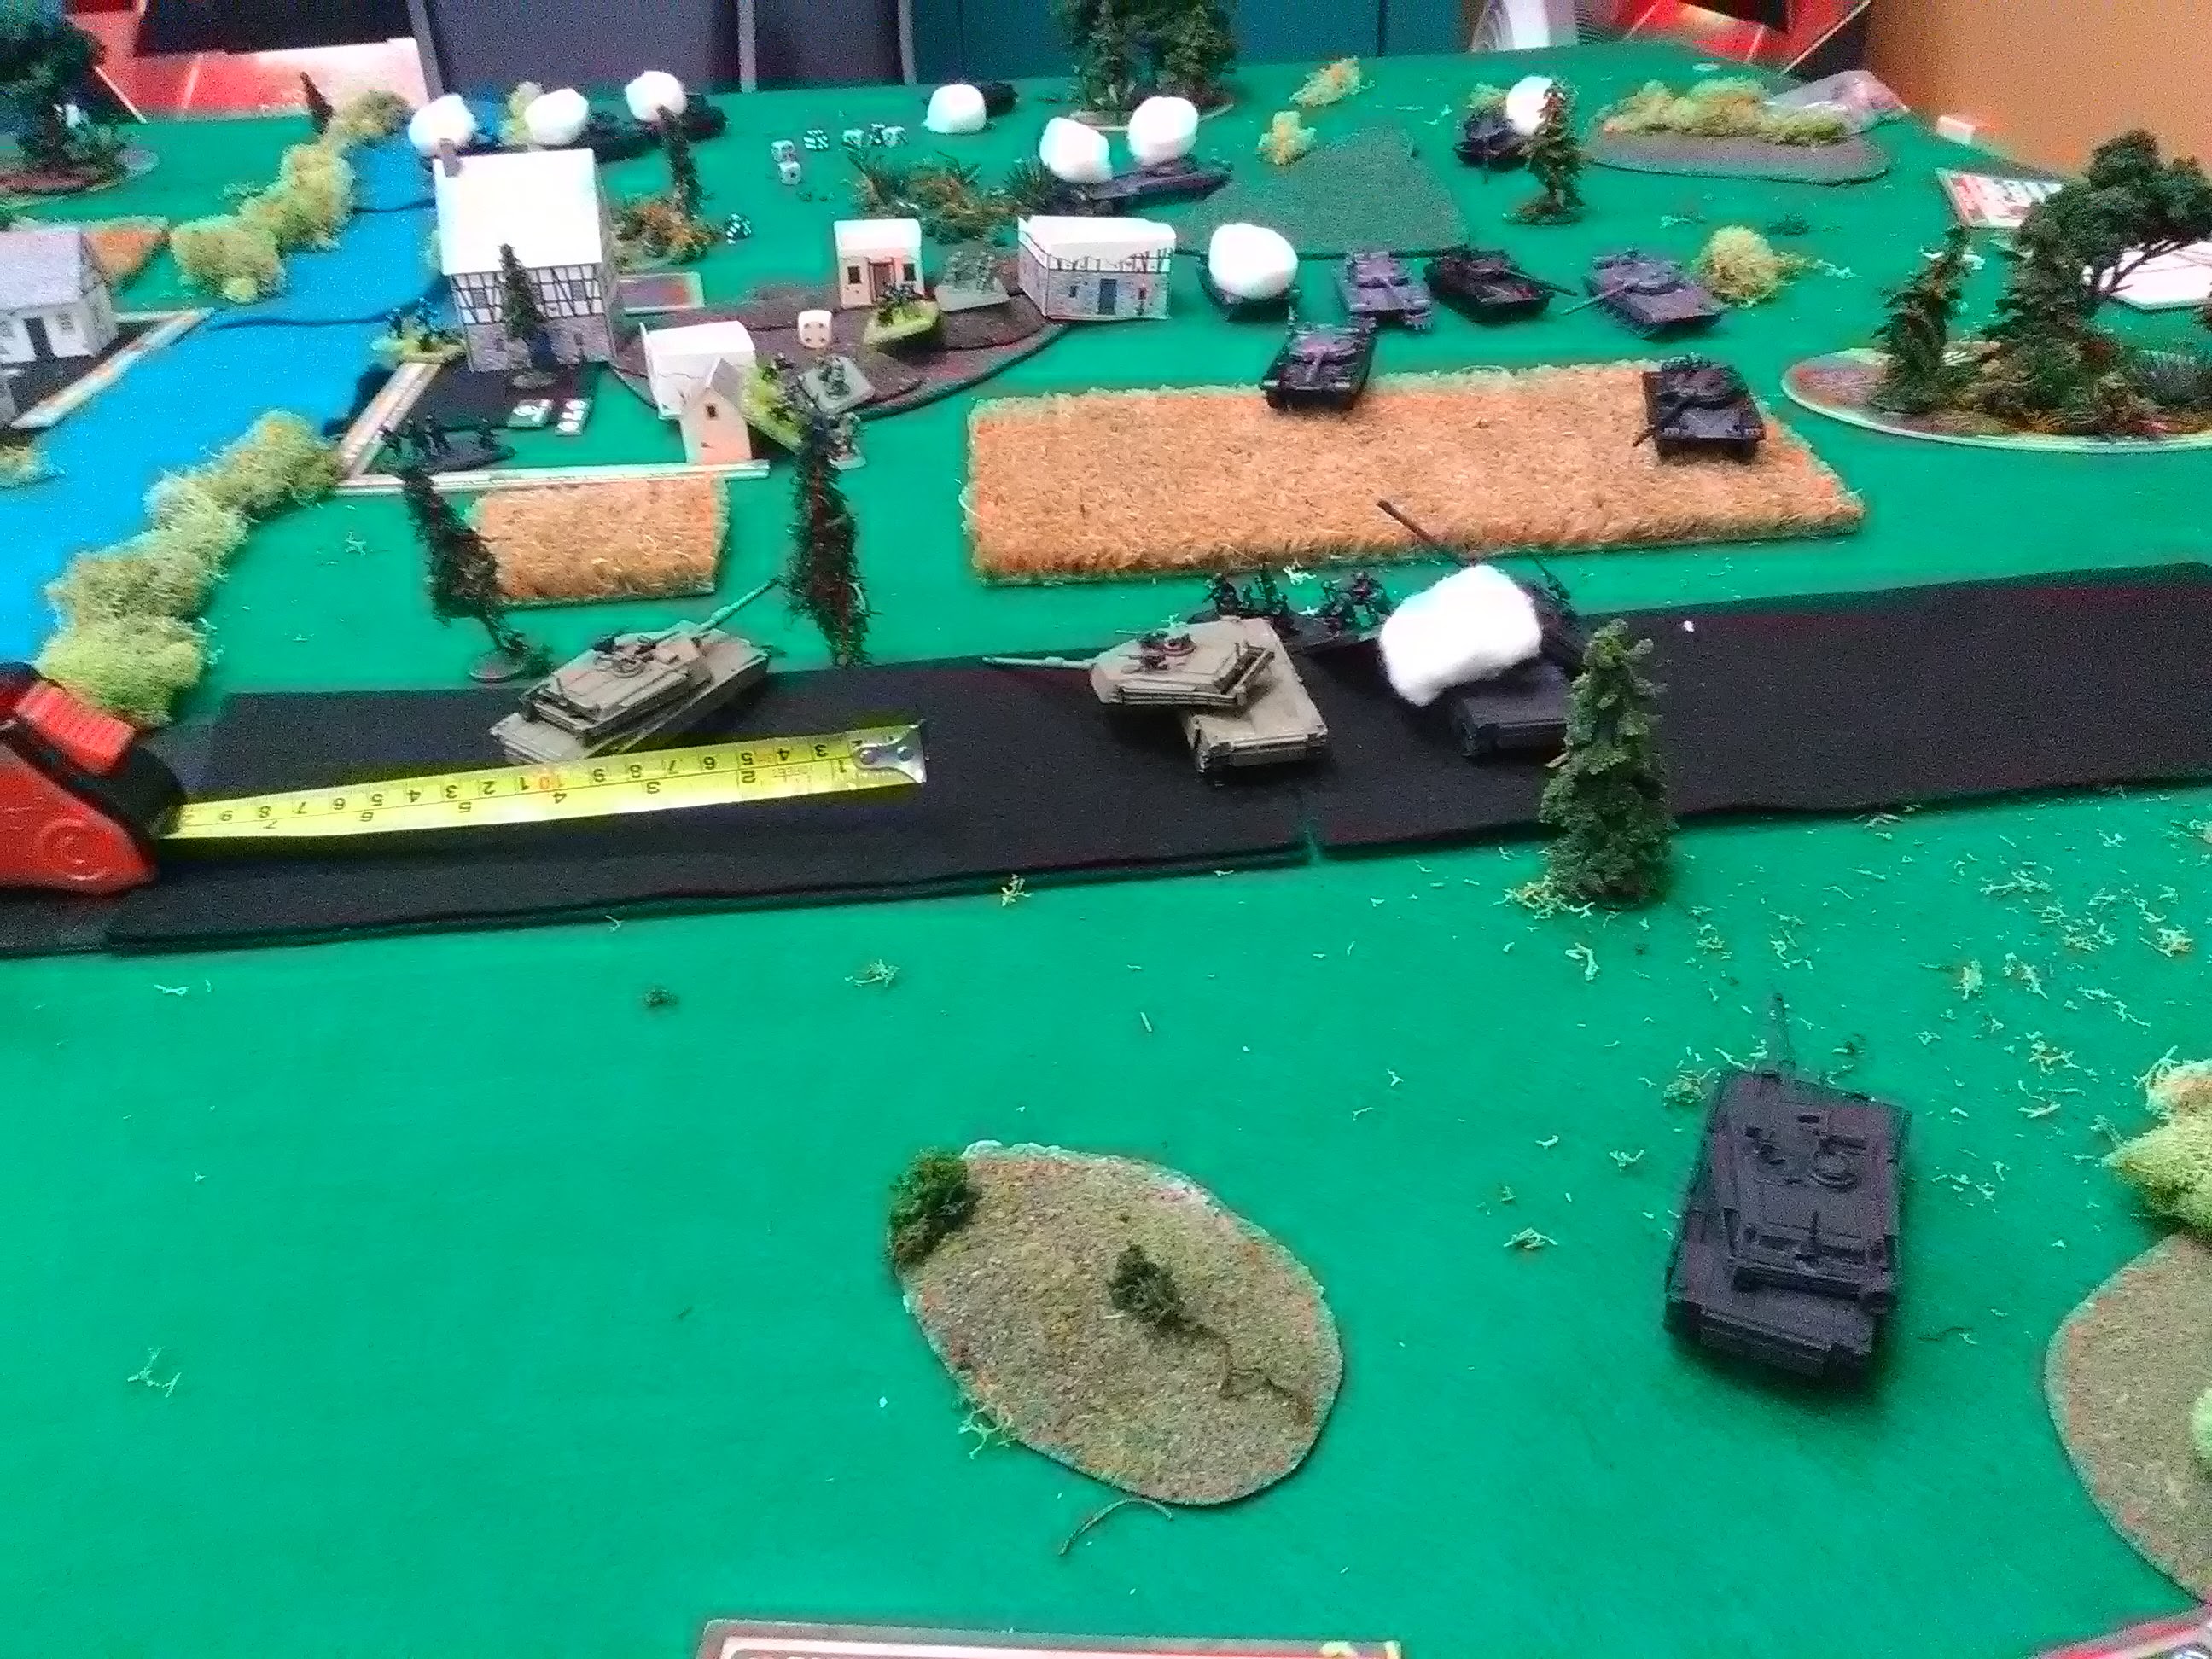
ReplyDeleteThat it is. Jeremy is learning the whole war game thing but he´s a wily foe who learns quickly. If he did that assault a turn or two earlier he would have had me. I just had a thin line of infantry covering the bridge which you can barely see in the last couple of pics.
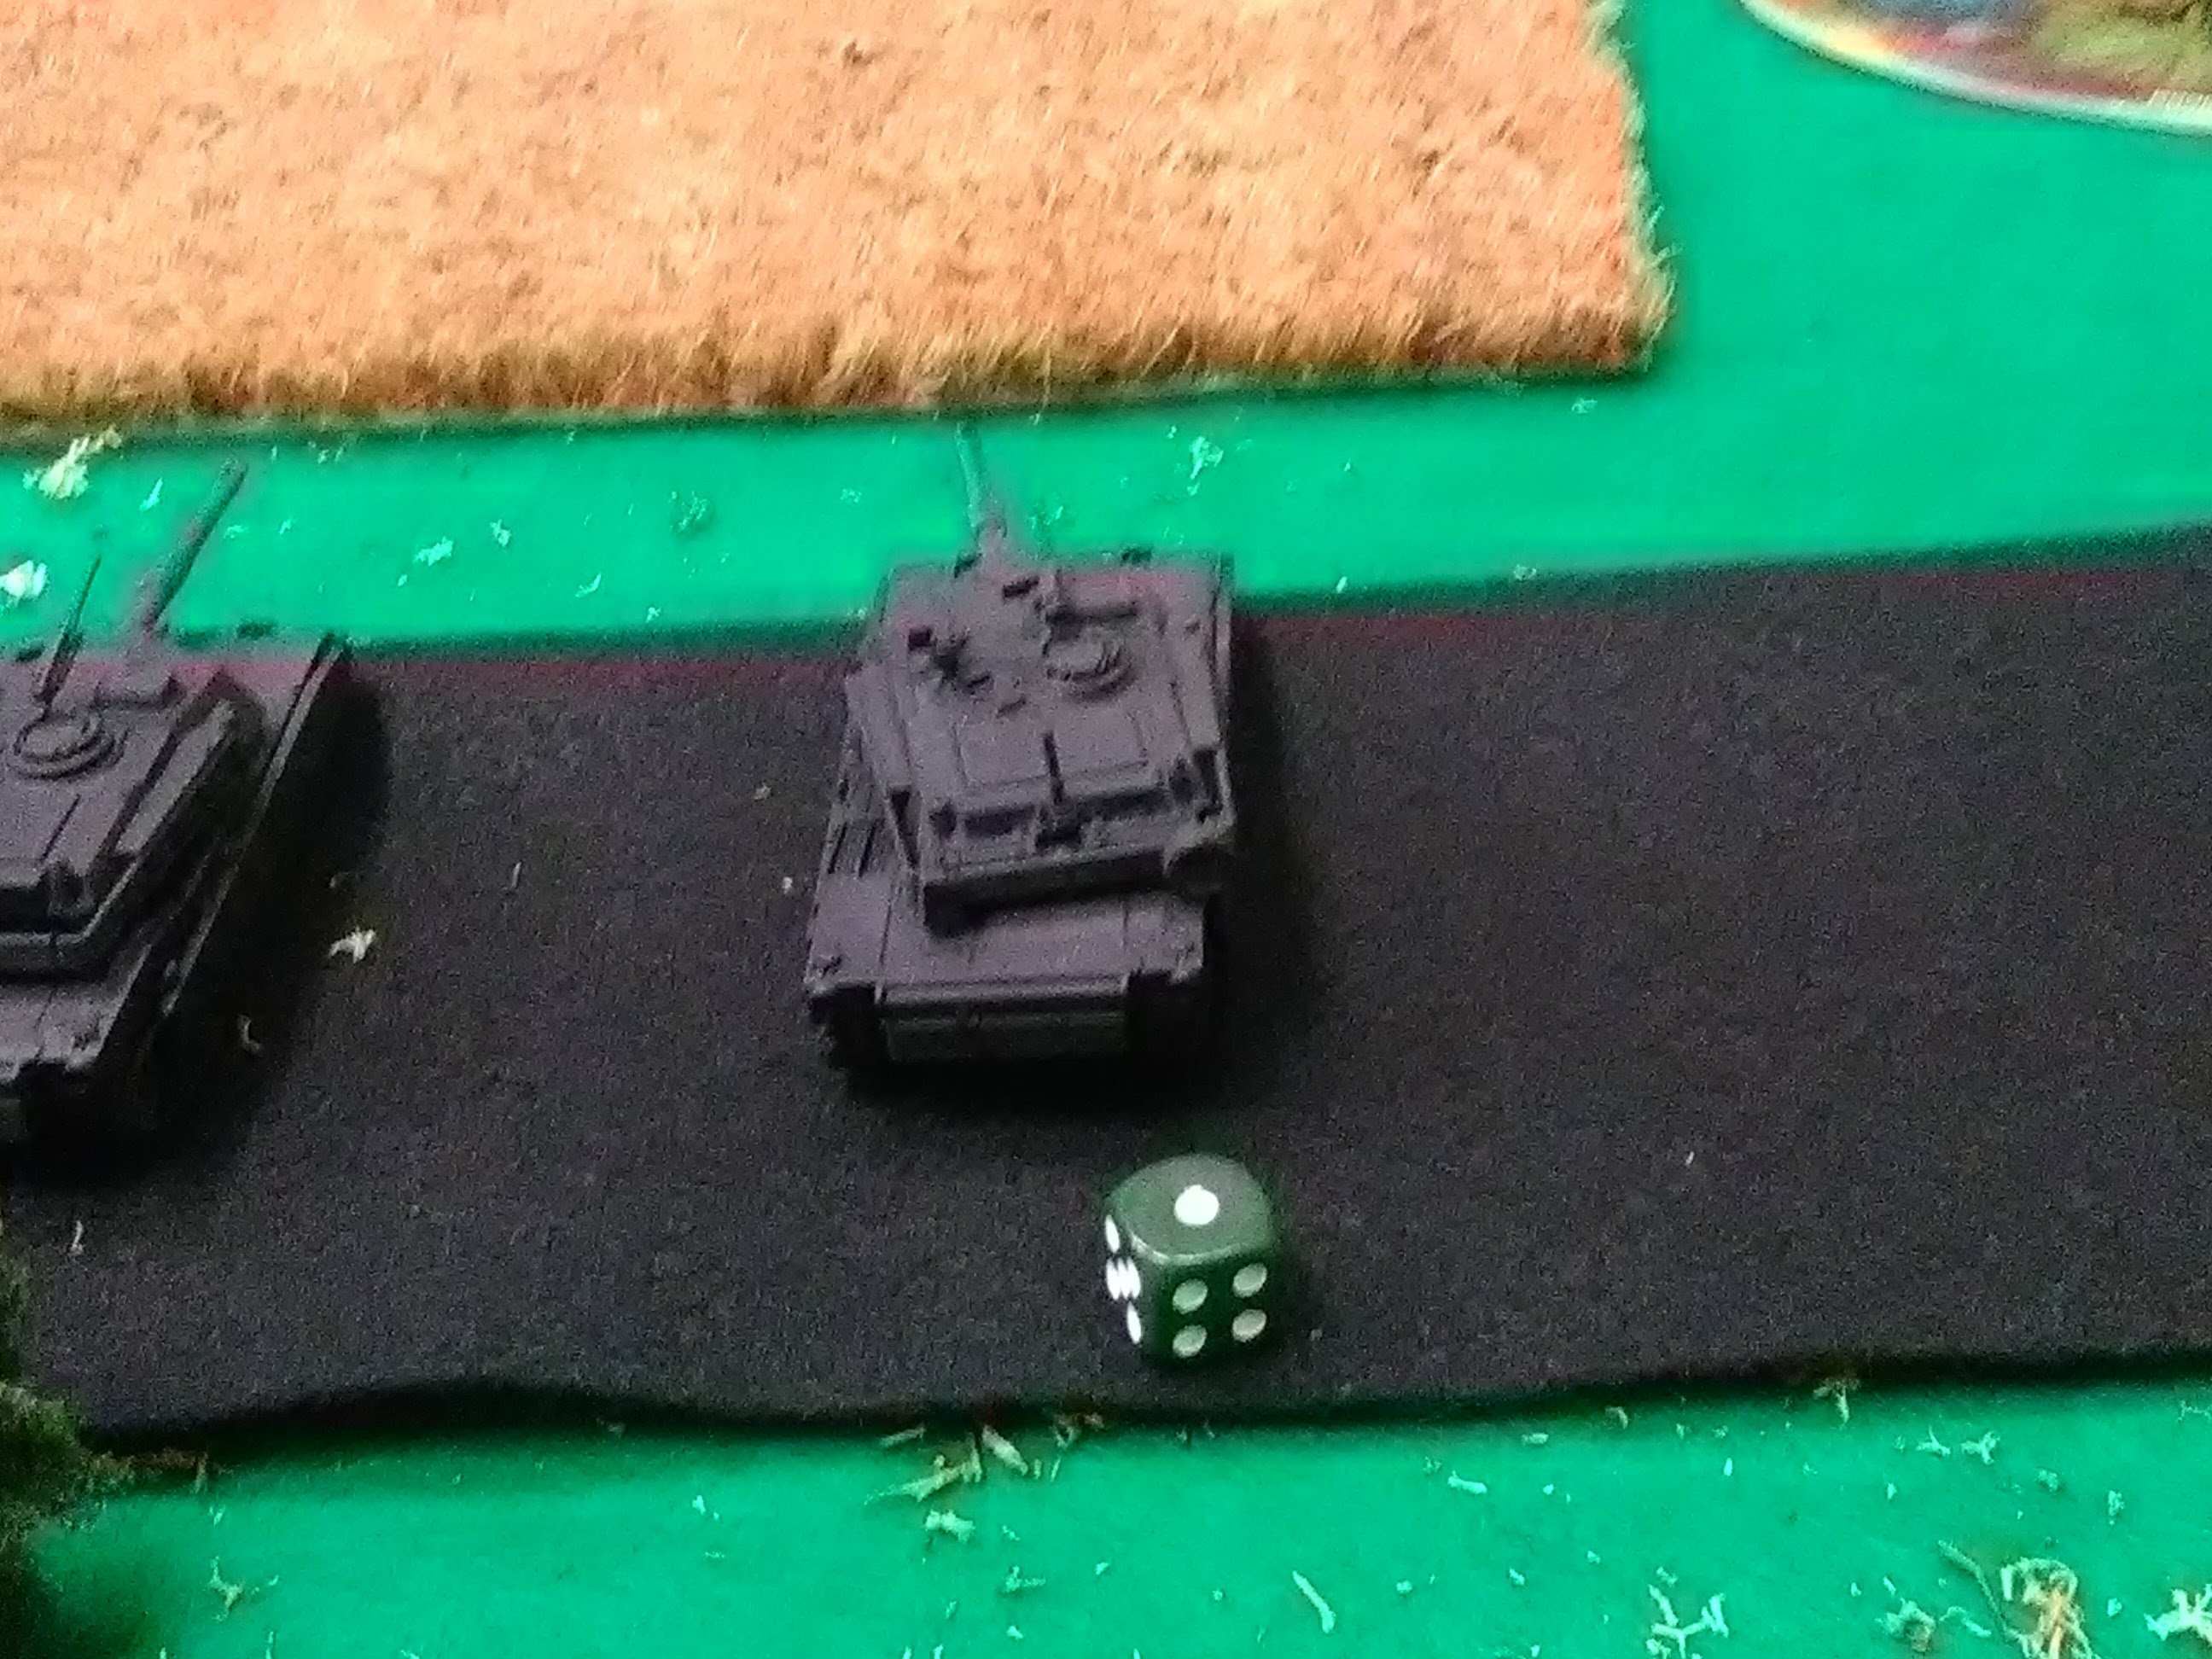
That last picture is a bit misleading. The painted tank near the tape measure is dead too (I snapped the picture before it marked it as dead)! The one black primed tank at the bottom of the picture was the ONLY survivor from my tank platoon and that unit was over 50% of my force by points. Losing that platoon would have been a terrible blow to my mech company. He couldn´t win by that point, but he could have taken the game into a draw which meant that we both would have lost! So yeah, I didn´t win by much at all!
Not bad for a 14 year old kid who is in his first year of ROTC.
Tgunner